How to Design UI Systems With an Agent
A practical guide to using an agent for interface design: directions, system fit, state coverage, critique, and approval.

Founder, Task Machine
UI system design is the process of turning a component or interface request into a spec that extends the product's existing design system instead of creating another one-off. The work includes requirements, multiple design directions, domain-model checks, token and component reuse, state coverage, accessibility review, and human approval before anything becomes canonical.
The value is consistency. A rushed design can look acceptable in one screenshot while adding a new pattern, a new token, a new state rule, or a new accessibility gap that engineers and users pay for later. A useful process keeps exploration wide, then narrows on a spec that the system can absorb.
Why UI one-offs fragment products
Design systems usually break by accumulation, not by one big mistake. A page adds a local dropdown because it is faster. A component grows a boolean prop for one case. Empty, loading, error, disabled, focus, and mobile states are left for implementation. The product still ships, but the next designer or engineer inherits a wider surface with less clarity.
The hidden cost is decision debt. Teams spend review time debating details that should have been encoded in components, tokens, and composition patterns. Users notice the inconsistency as friction: similar controls behave differently, forms recover from errors differently, and keyboard focus becomes unreliable.
What the manual process looks like
A good UI system design process has five steps:
- Gather requirements: the problem, the caller or user, key operations, constraints, and what the interface should expose or hide.
- Map visible elements back to the domain model and flag anything the model cannot support.
- Explore at least three different directions: minimal surface, flexible surface, common-case optimization, or a borrowed paradigm.
- Compare the directions on simplicity, depth, system fit, implementation efficiency, and misuse-resistance.
- Write an annotated spec covering components, tokens, composition pattern, every state, accessibility, keyboard behavior, responsiveness, and any system gaps, then get approval.
The manual version requires discipline because the first plausible design is rarely the best one. The point is to force real alternatives before choosing.
What an agent can automate
The UI & design system design playbook is useful when the agent is constrained to design, not implement:
- Gather system-aware requirements. The agent captures the problem, callers, key interactions, constraints, exposed concepts, and hidden complexity before drawing the interface.
- Explore distinct directions. It produces at least three different approaches, with each direction shaped by a different constraint. The directions must not collapse into cosmetic variants.
- Compare before synthesis. It evaluates simplicity, depth, general-purpose fit, implementation efficiency, and misuse-resistance, then combines the best ideas into one spec.
- Reuse before adding. It names the existing components and tokens the spec reuses or extends. If a new component or token seems necessary, it flags that as a system gap.
- Audit every state. It checks default, hover, focus, active, disabled, loading, empty, and error states, plus contrast, keyboard behavior, motion, responsiveness, and form validation.
The human still decides whether the direction fits the product and whether any flagged system or domain gap should become real.
The guardrails that make it safe
Design agents need boundaries because they can create convincing artifacts that do not fit the product. The safe workflow keeps the agent in spec mode and routes the final result through approval. When a design tool is connected, the agent works through the browser and pauses before making changes.
The other guardrail is the design-system check. The agent must state what it reused, what it extended, which states are covered, and which gaps remain. If the request conflicts with the domain model or demands a new pattern, the workflow should ask instead of designing around the conflict silently.
Set it up in Task Machine
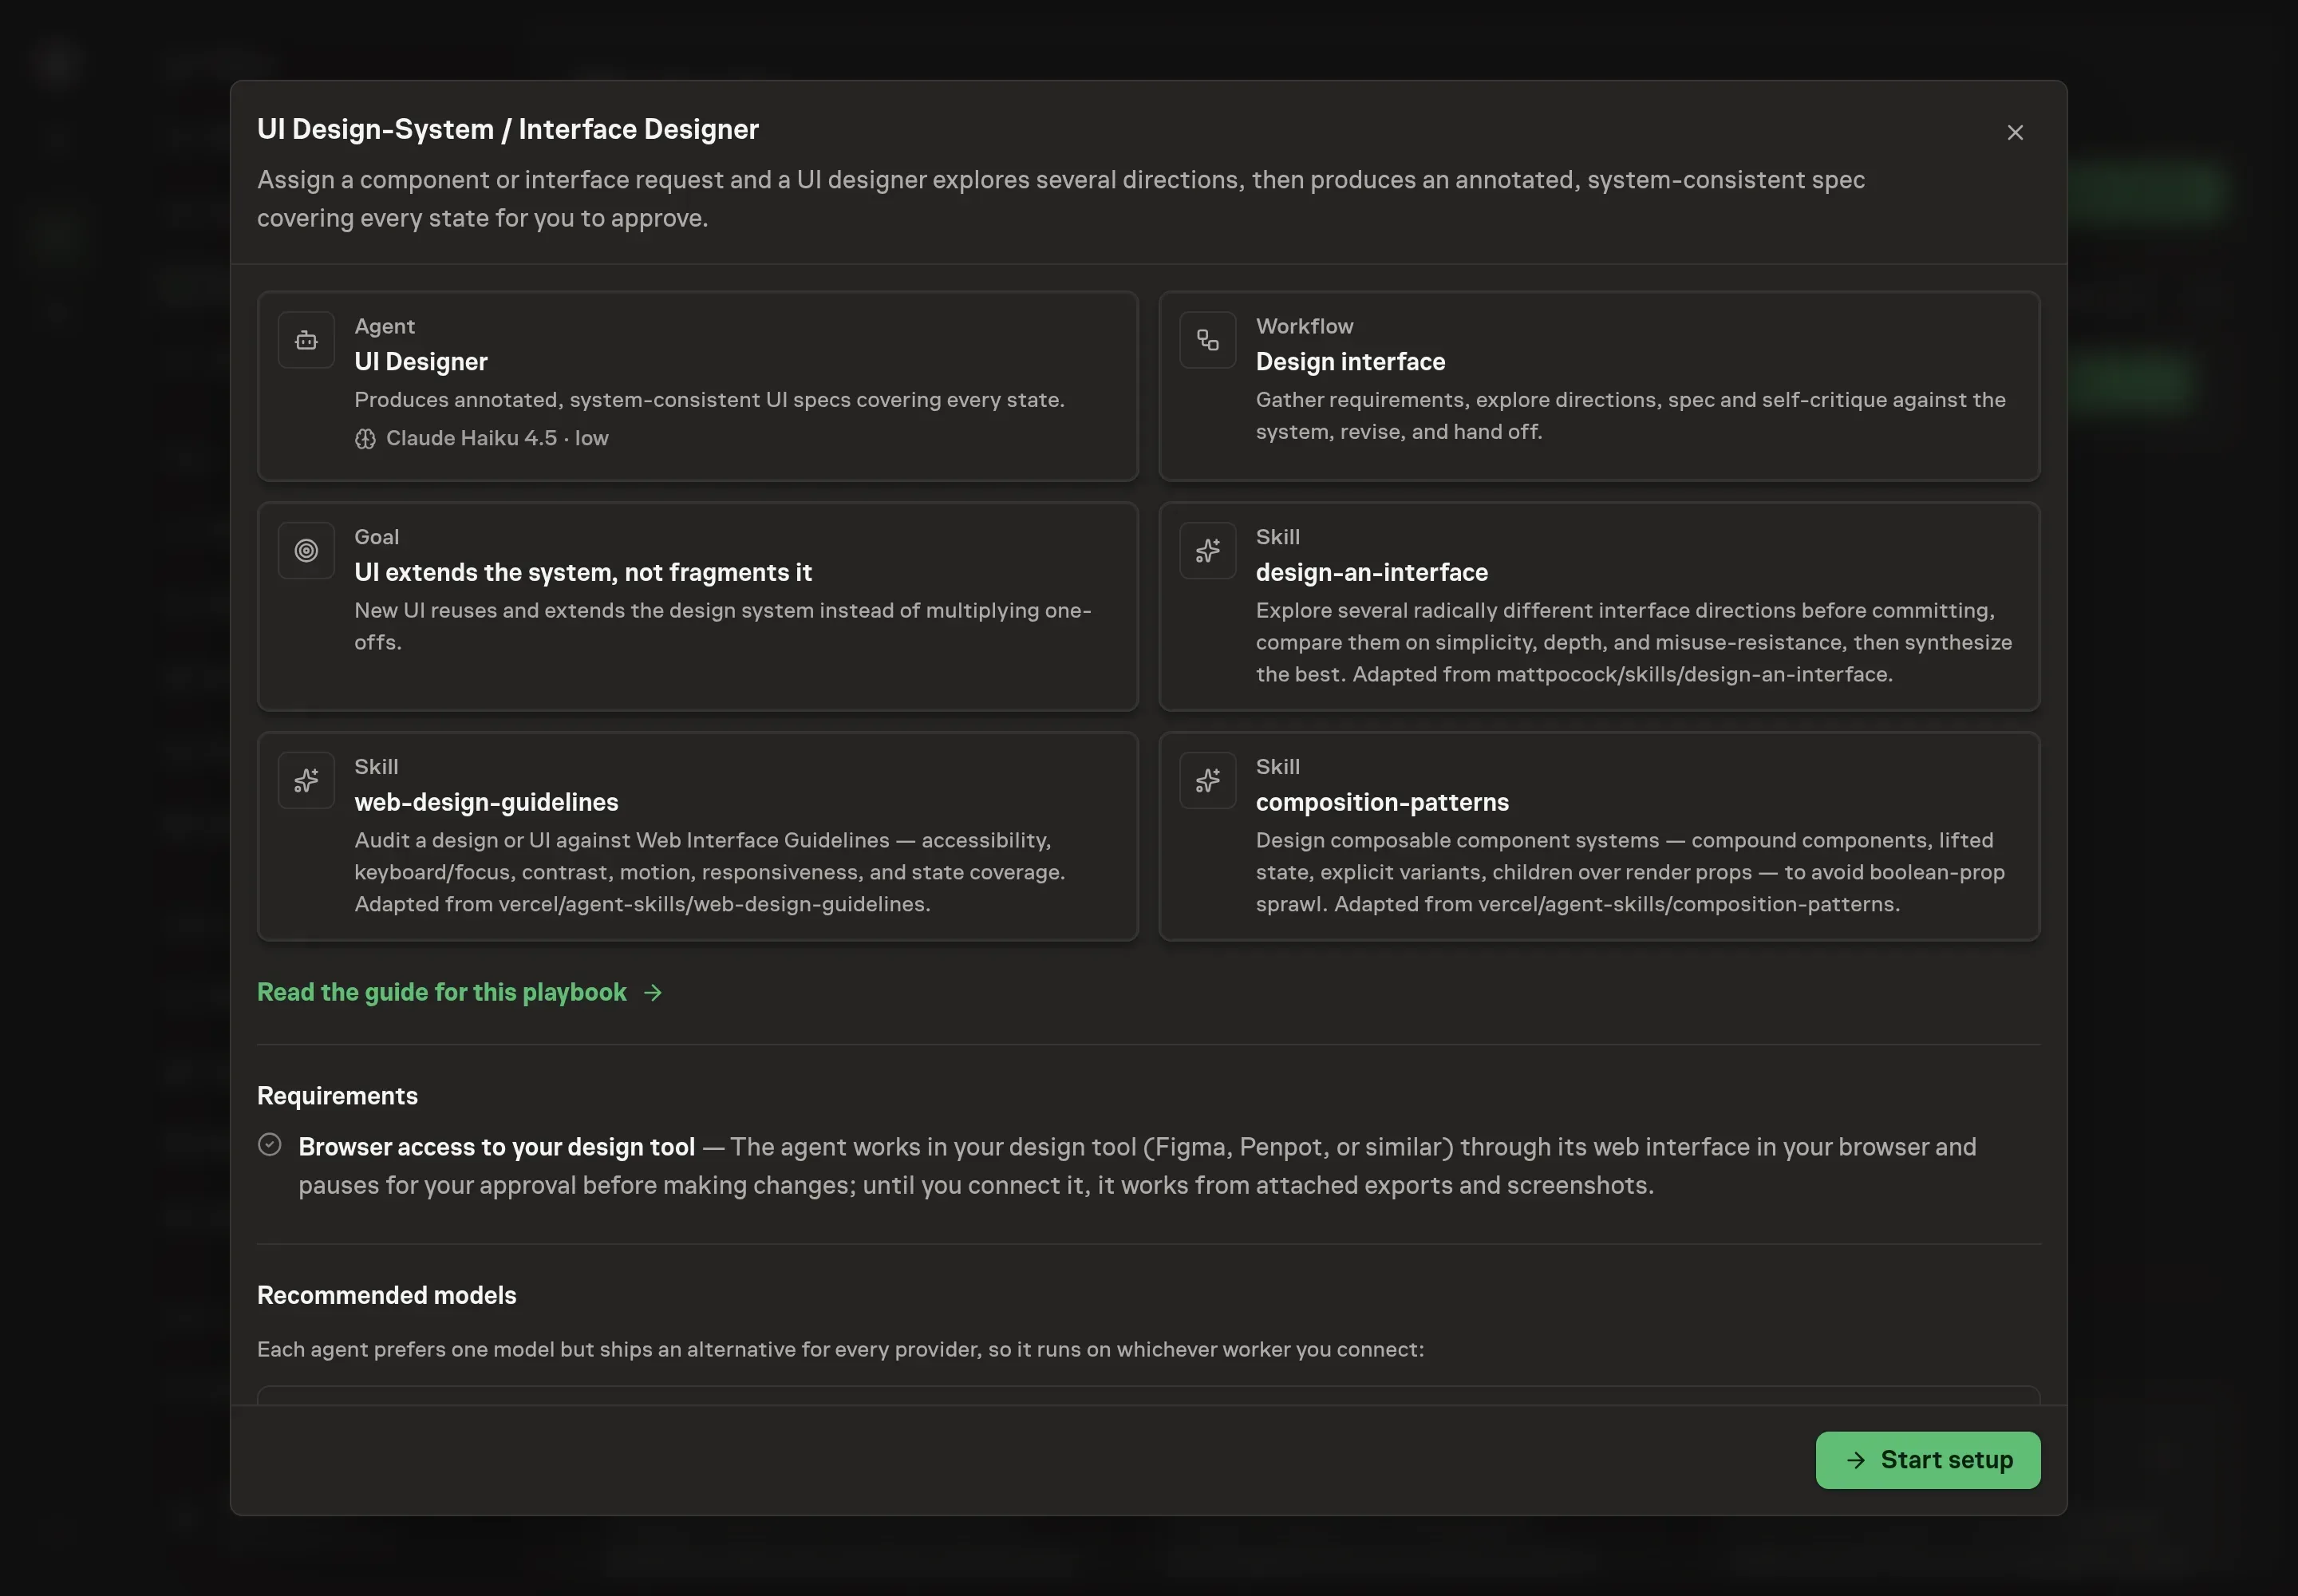
The UI & design system design playbook provides a starting point for the method above. You need an active Task Machine workspace with Chat, workspace-management and Playbook-installation access (workspace owners have it). Design tool access is not required up front. Until it is authorized, the workflow can work from attached exports, screenshots, and repository context.
1. Find the playbook
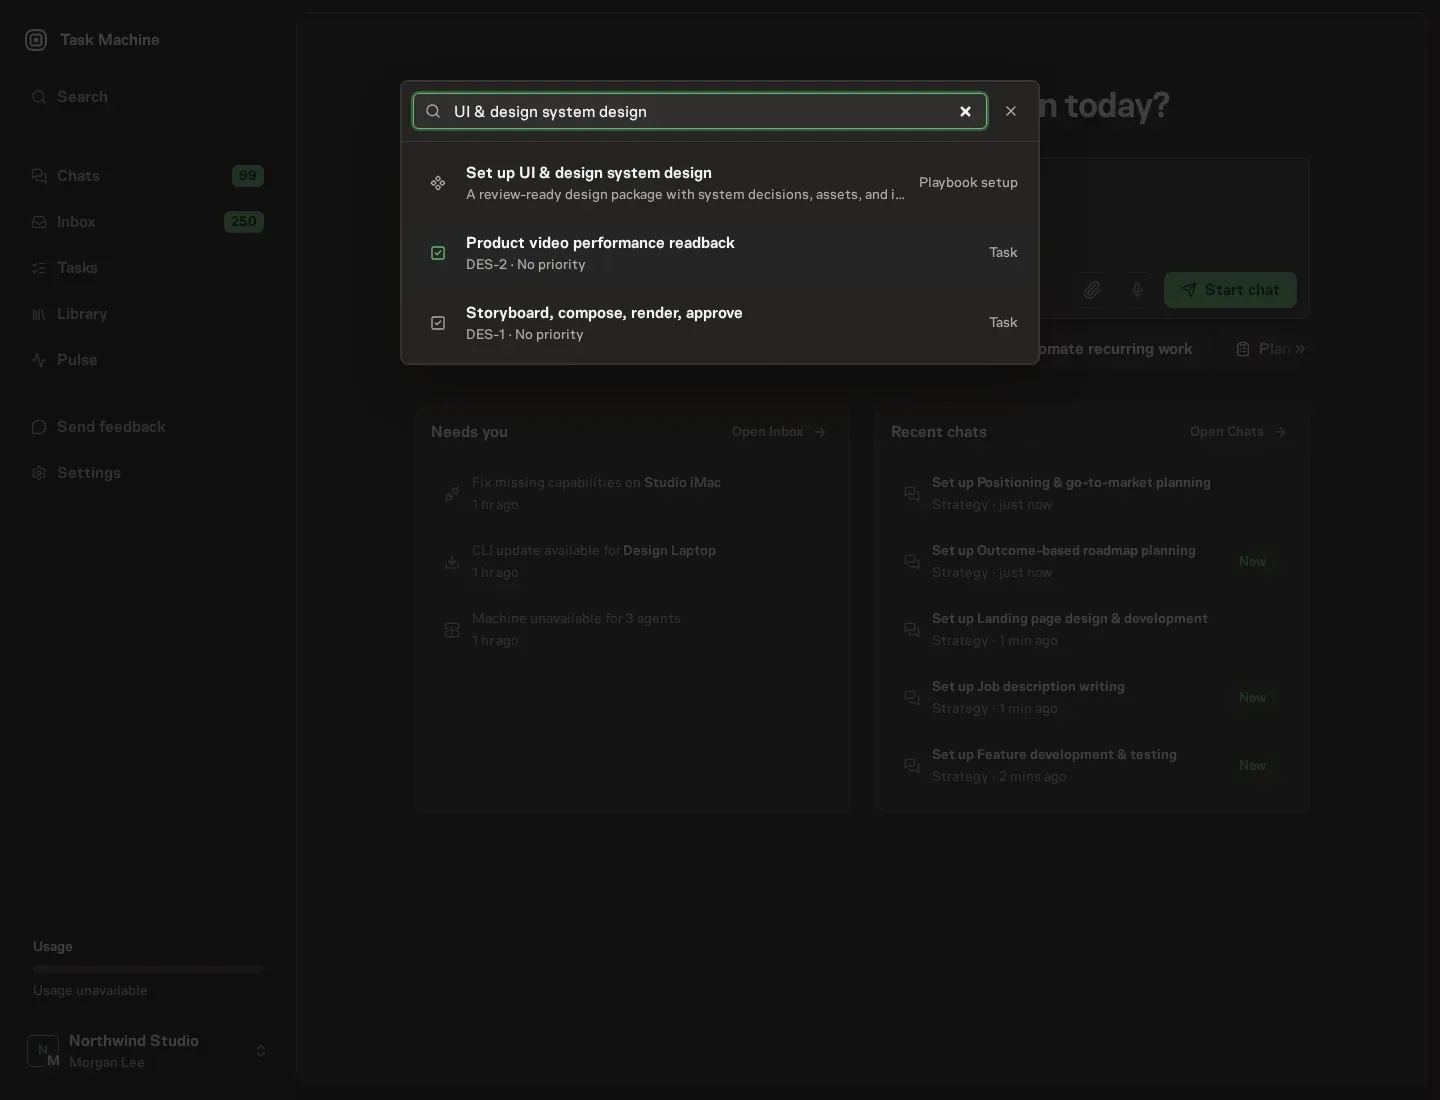
Open Search in your workspace and enter "UI & design system design". The command center lists Set up UI & design system design under Playbook setup.
2. Start the conversation
Choose Set up UI & design system design. Task Machine opens a dedicated Chat with the Playbook card and an editable, unsent request. Read the intended job and outcome. Add your situation and send it when ready. Opening the draft does not install anything or start work. This walkthrough uses settings that require approval of the proposed Playbook.
3. Agree the working brief
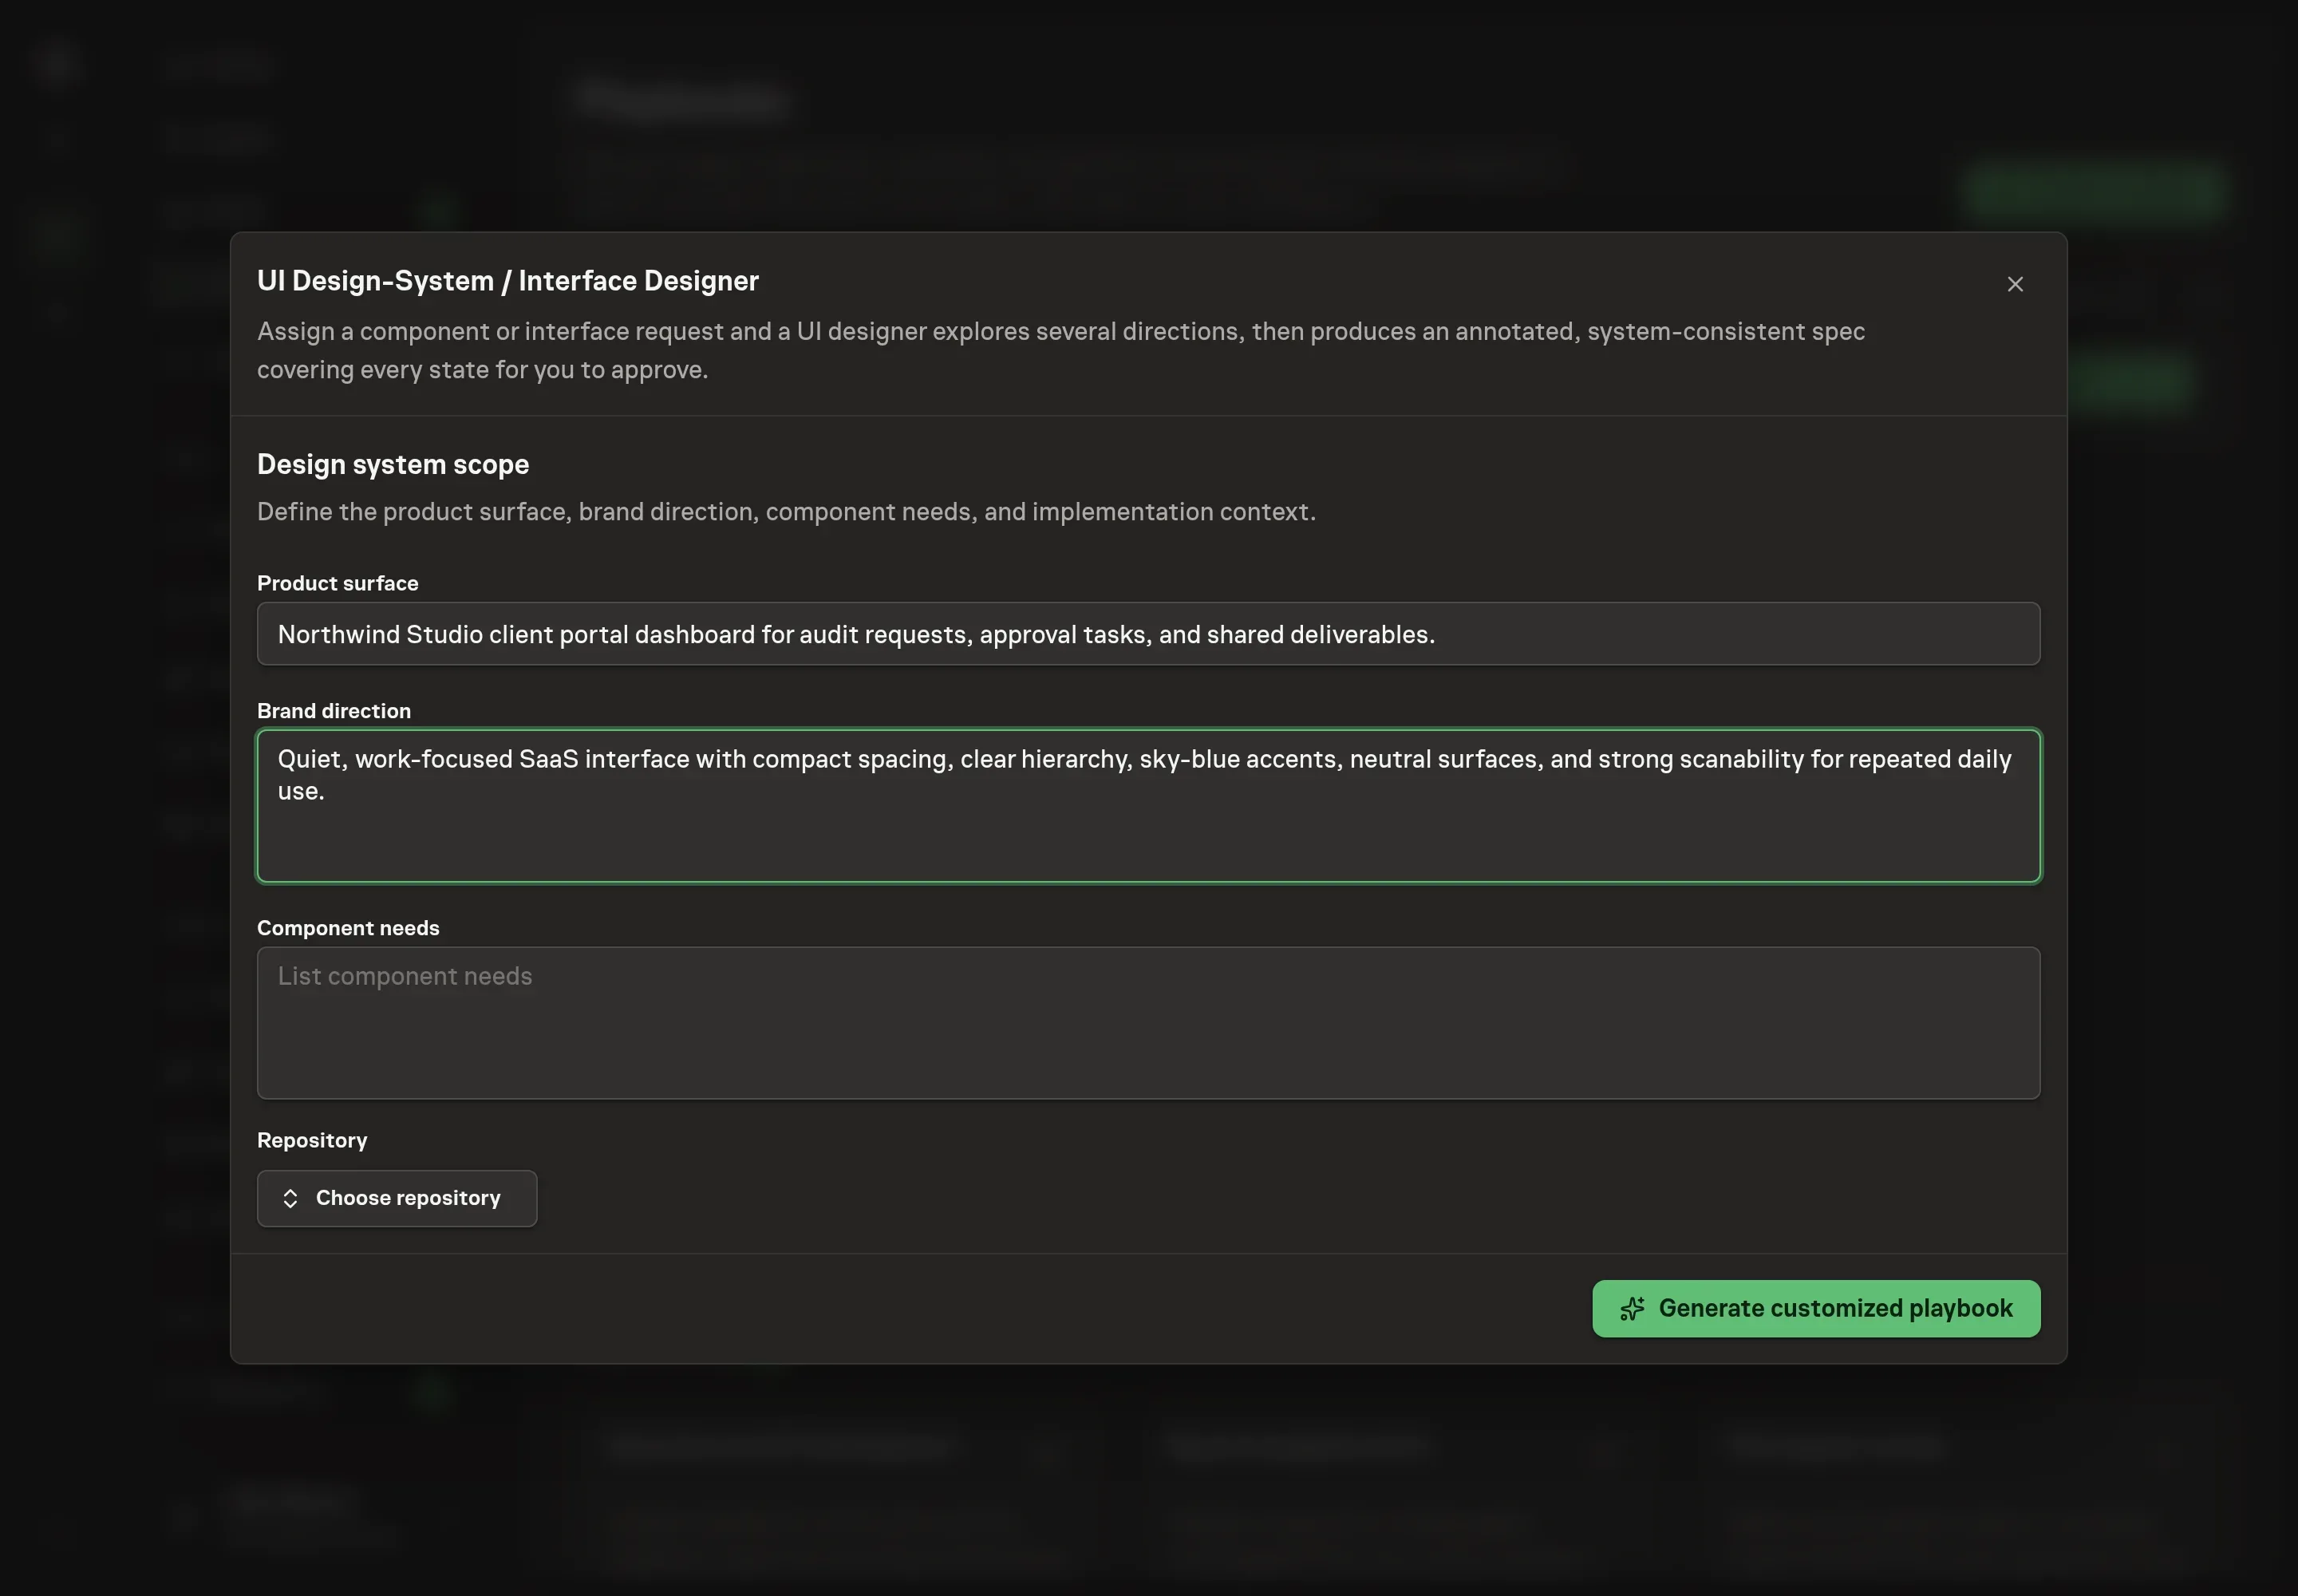
Use Chat to agree the inputs, expected output and limits before asking for a proposal. The Agent needs the product surface, brand direction, component needs, and repository. For component needs, describe the actual parts the spec must cover, such as filters, tables, empty states, and approval modals.
4. Review the proposed Playbook
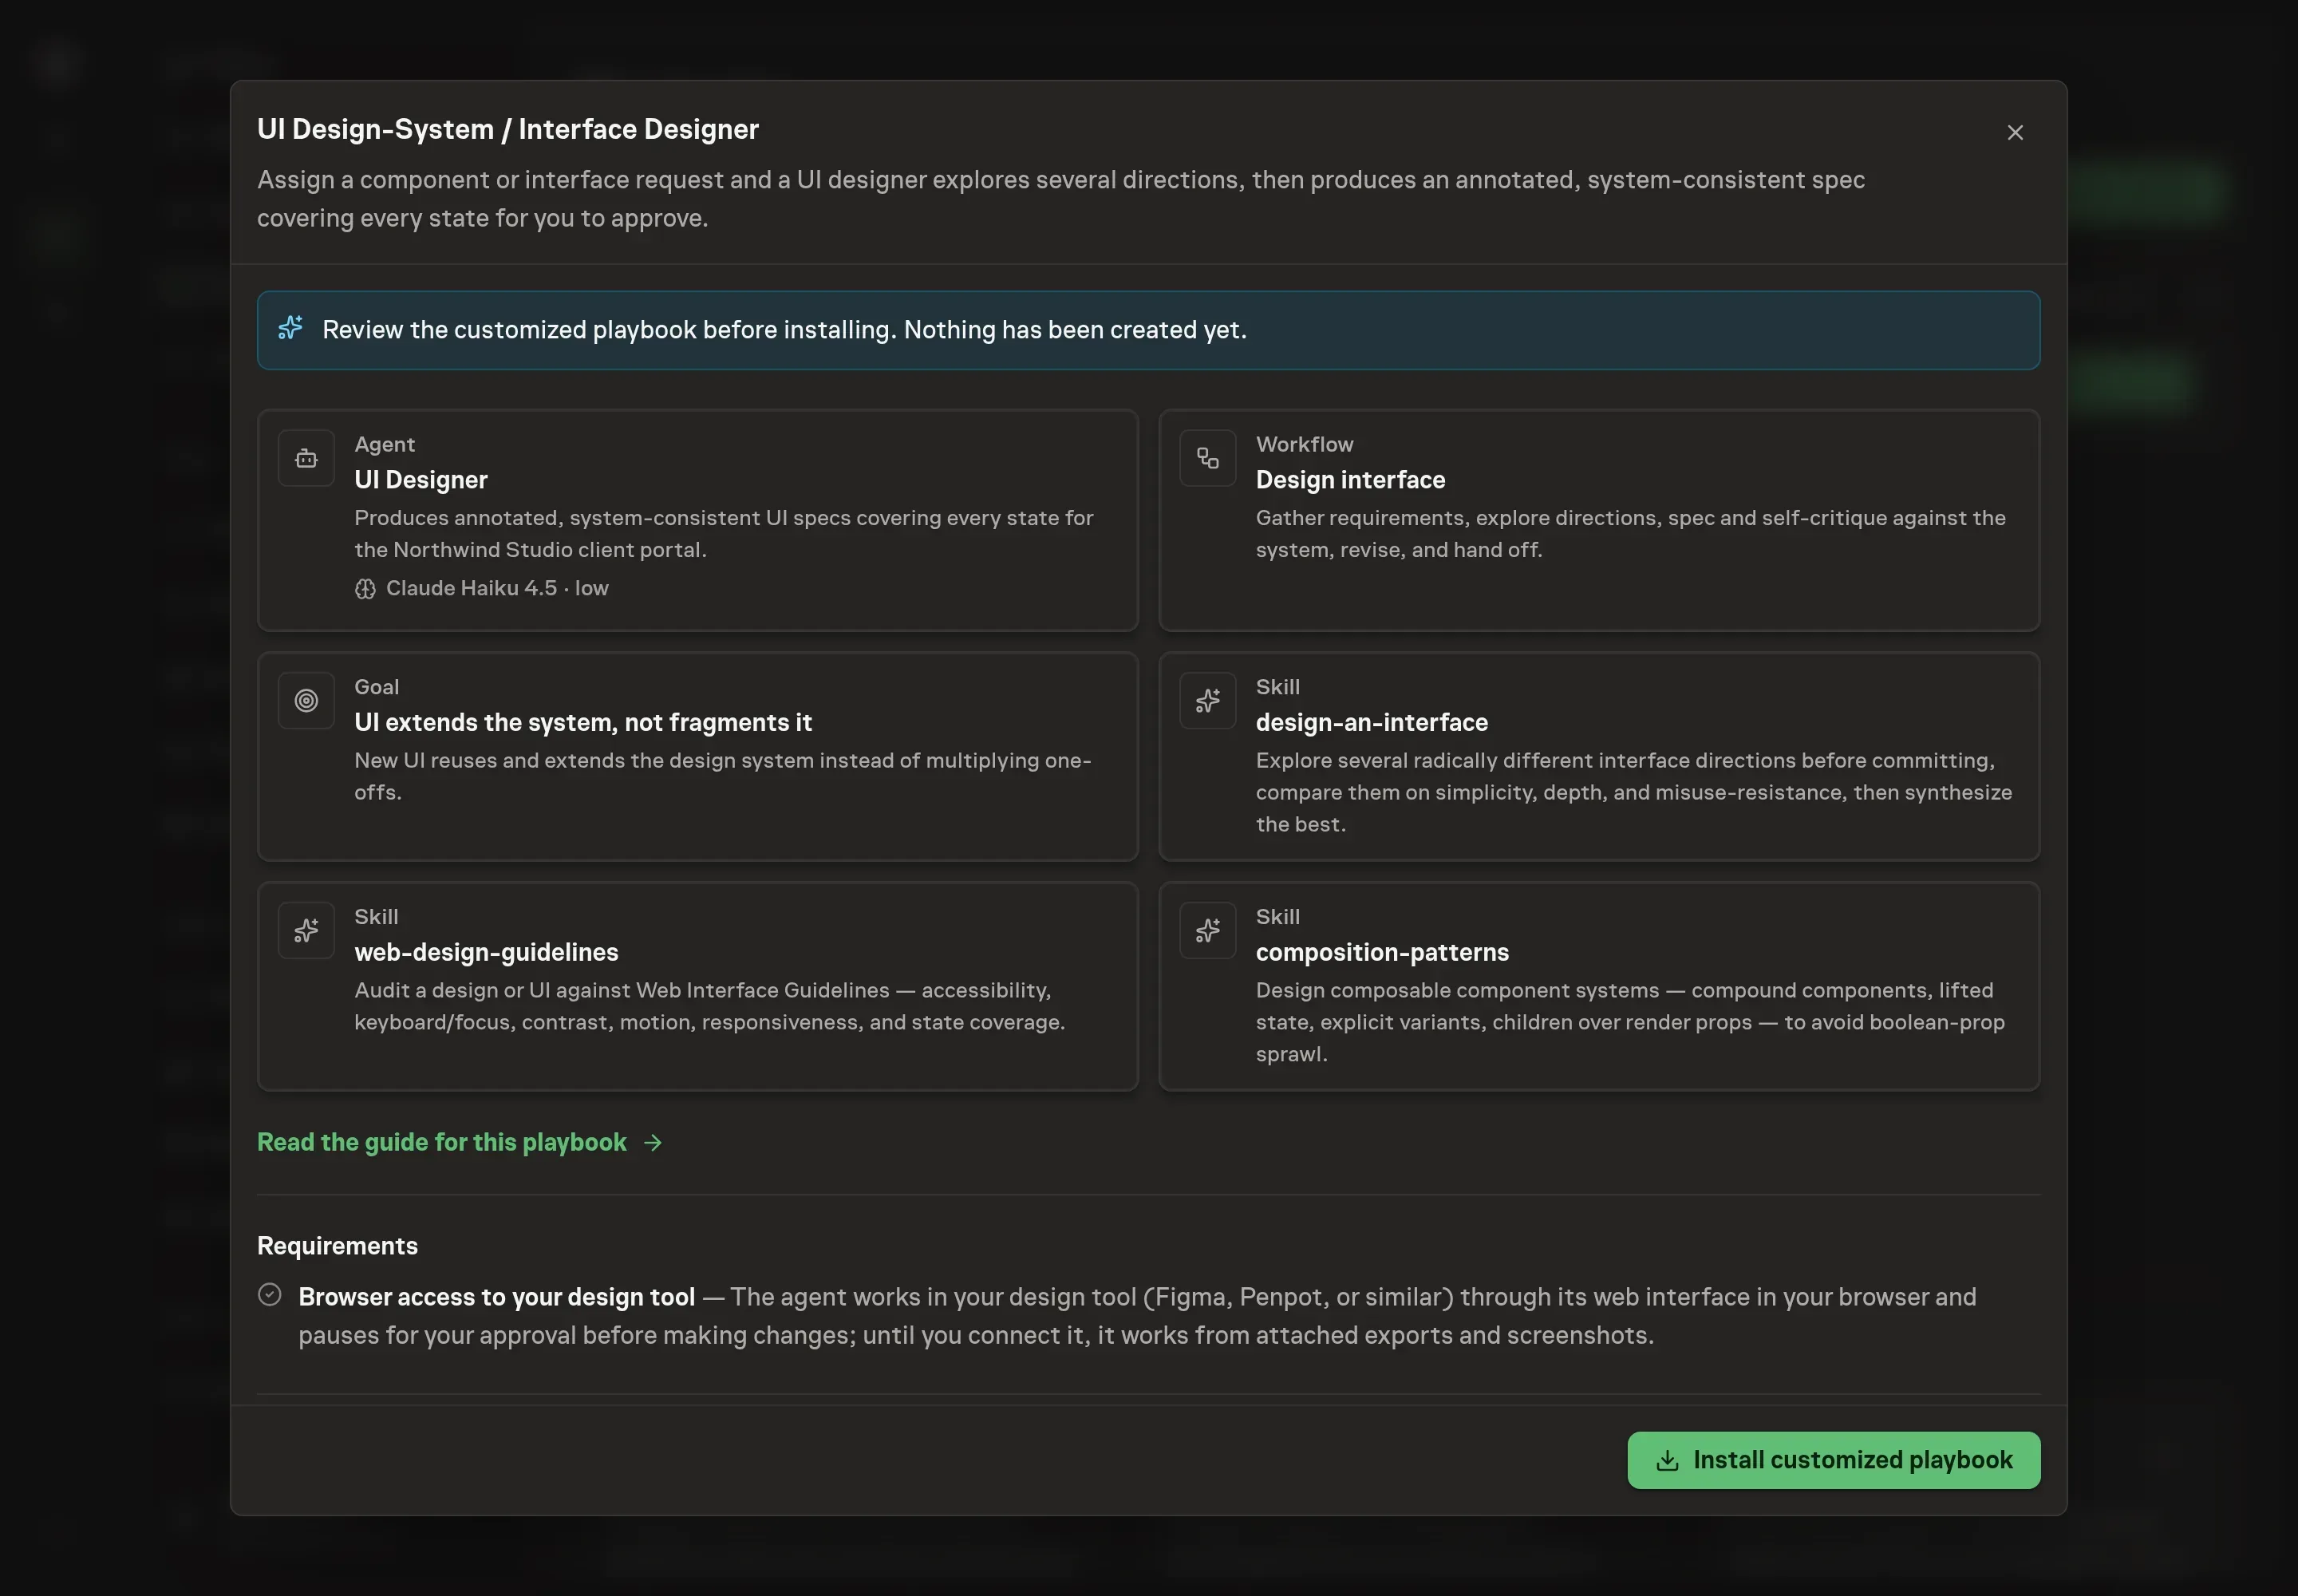
Ask the Agent to generate the Playbook from the agreed brief. Open its proposal in Chat and check the instructions and resources it will install, which carry more detail than the conversational summary. Review the generated records for the important constraints: multiple directions first, existing components and tokens first, every state covered, and approval before the spec is treated as final. Ask for a revised proposal if anything is missing or changes the job.
5. Approve and prepare the first work
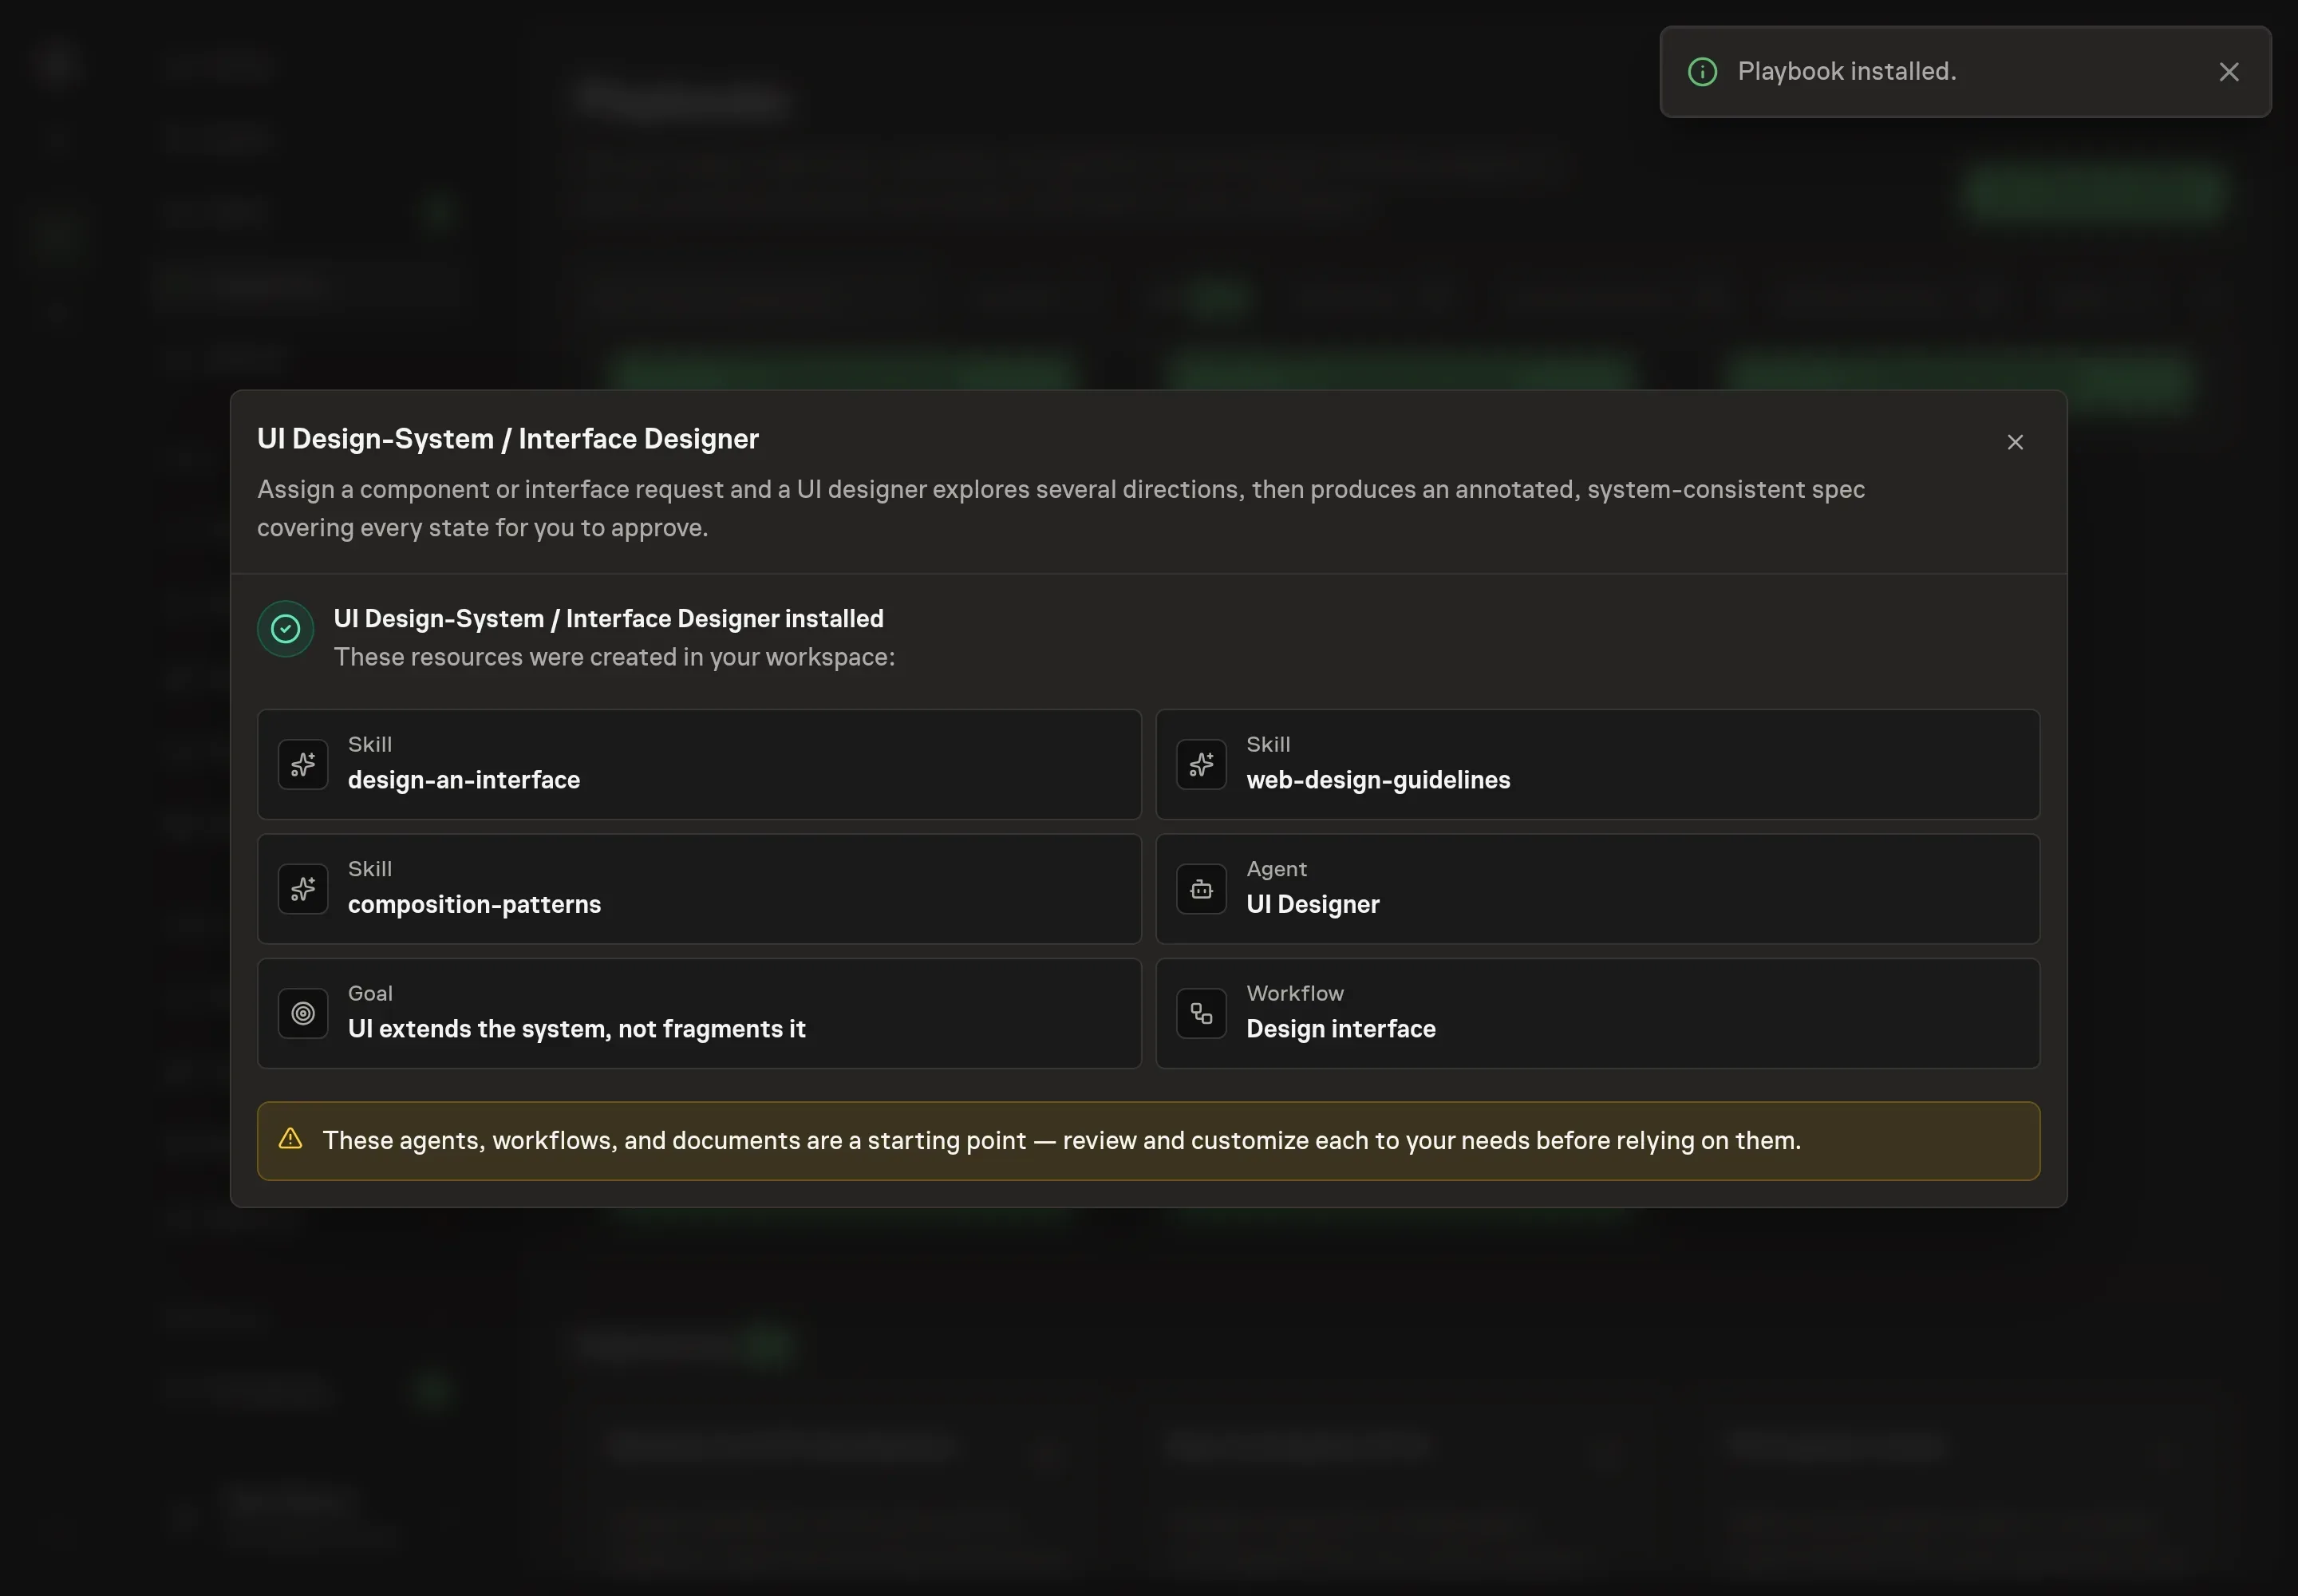
Choose Approve on the proposal in Chat when the configuration matches your brief. Task Machine installs that reviewed configuration. The approved item retains its review details. If your autonomy settings allow direct installation, this approval may not be required. Check the resulting configuration in that case too.
Complete any remaining secure service setup from the installation details in Chat. Inbox keeps those setup items available if you return later. Prepare the source documents and inputs before starting the first Task or Workflow. Installation does not authorize sending, publishing or changing an external service beyond the boundaries you agreed.
What good looks like
Three checks show whether the design workflow is producing useful specs:
- The directions are different. They vary by interface shape and tradeoff, not only by visual treatment.
- The spec extends the system. Existing components and tokens are named, and any new component or token is flagged as a decision.
- States are complete. The spec covers interaction, loading, empty, disabled, error, focus, mobile, motion, and accessibility requirements before approval.
Common questions
Does the agent implement the UI? No. This playbook produces an annotated interface spec and routes it for approval. Implementation is a separate workflow.
Can it work without Figma or another design tool connected? Yes. It can work from attached exports, screenshots, and repository context until browser access to the design tool is ready.
Why require multiple design directions? The first reasonable interface often hides a shallow component shape or a future misuse problem. Comparing distinct directions makes the final spec more deliberate.
What happens if the request conflicts with the design system? The agent should flag the conflict as a system gap or product decision. It should not invent a local workaround and present it as system-consistent.