How to Produce Product Videos
A practical guide to turning launches, changelog entries, and feature pages into storyboarded, rendered product videos with approvals.

Founder, Task Machine
Product video production is the process of turning a launch, changelog entry, or feature page into a short video that a customer can understand without a live demo. It needs a storyboard, brand assets, timed scenes, a preview loop, a deterministic render, and approval before publication.
The value is leverage. One launch page can become a website hero video, a changelog clip, a social post, and a sales follow-up asset if the production process is repeatable.
Why product videos get postponed
Small teams usually have the material: a feature, screenshots, a customer problem, and a few proof points. What they lack is a production loop. Writing the script, designing frames, animating transitions, rendering, and revising all feel like separate jobs.
That is why videos get delayed until after the launch moment has passed. The team ships the feature, writes the changelog, and leaves the video for later.
What the manual process looks like
Done by hand, product video production is a sequence:
- Pick the source: launch page, changelog entry, feature page, or product recording.
- Decide the format, aspect ratio, length, and destination.
- Write a storyboard with scenes, timing, on-screen copy, and required assets.
- Get the storyboard approved before production starts.
- Build the composition, preview it, and fix timing or asset issues.
- Render the MP4 and review the final cut.
- Record the result so future videos reuse the right patterns.
The expensive failure is rendering a polished video from a weak storyboard.
What an agent can automate
An agent can make the production loop repeatable:
- Turn source material into a storyboard. It extracts the product claim, audience, proof, and scenes from the supplied source.
- Compose timed scenes. It writes the video as an HTML composition with declarative timing and seekable animation.
- Run the production checks. It lints, previews, and flags missing assets or timing problems before rendering.
- Render on the worker machine. It uses Node.js, headless Chrome, and FFmpeg through the video toolkit so the output can be reproduced.
- Maintain a video log. It records production details plus the working title, thumbnail concept, first frame, hook, CTA, owner feedback, and fixed measurement plan.
- Read back performance. A separate workflow waits for a complete result window, then separates packaging diagnostics, retention, business signals, guardrails, and confounders.
What stays judgment: approving the storyboard, approving the final cut and measurement plan, deciding where the video publishes, and approving measured learnings.
The guardrails that make it safe
The workflow has two approval gates. The storyboard waits before production starts, and the rendered final cut waits before anything publishes. That prevents the agent from spending render time on the wrong story or shipping a video with a bad claim.
The video log is the audit trail. It records source, render details, packaging, owner keep/change/avoid feedback, and the fixed performance contract. A later human approval decides whether a title, thumbnail, first frame, hook, scene, timing, format, proof, or CTA learning can be reused. No readback changes live video.
Set it up in Task Machine
The Product video production playbook provides a starting point for the method above. You need an active Task Machine workspace with Chat, workspace-management and Playbook-installation access (workspace owners have it). Rendering also needs Node.js, headless Chrome, and FFmpeg available to the Agent.
1. Find the playbook
Open Search in your workspace and enter "Product video production". The command center lists Set up Product video production under Playbook setup.
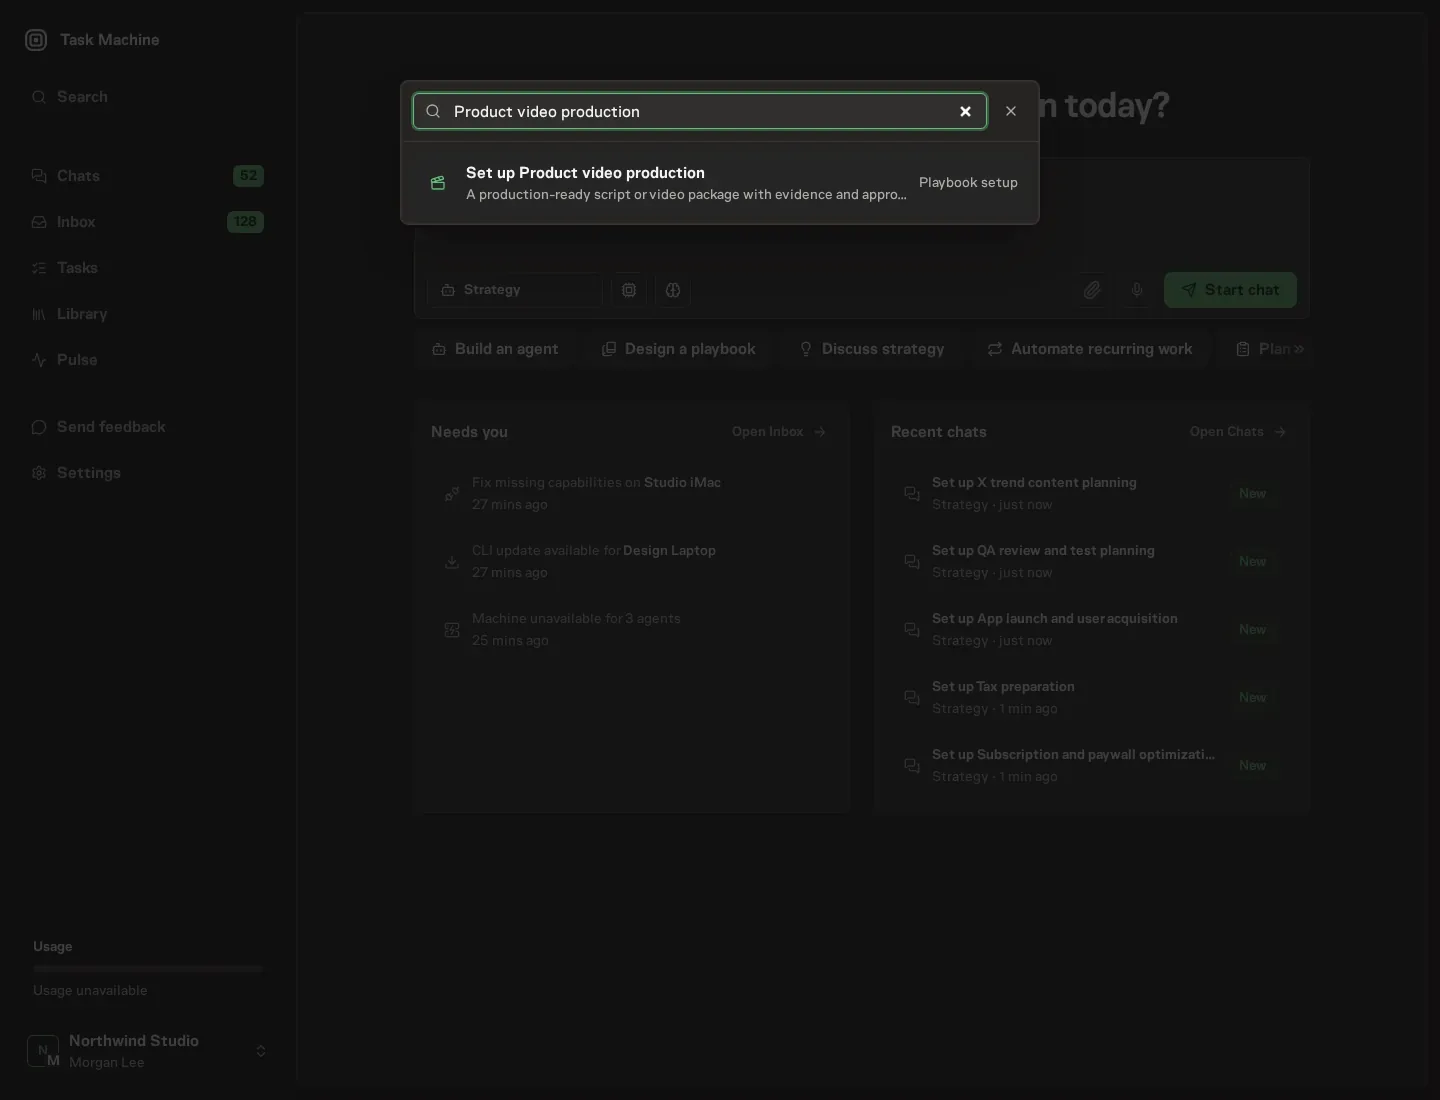
2. Start the conversation
Choose Set up Product video production. Task Machine opens a dedicated Chat with the Playbook card and an editable, unsent request. Read the intended job and outcome. Add your situation and send it when ready. Opening the draft does not install anything or start work. This walkthrough uses settings that require approval of the proposed Playbook.
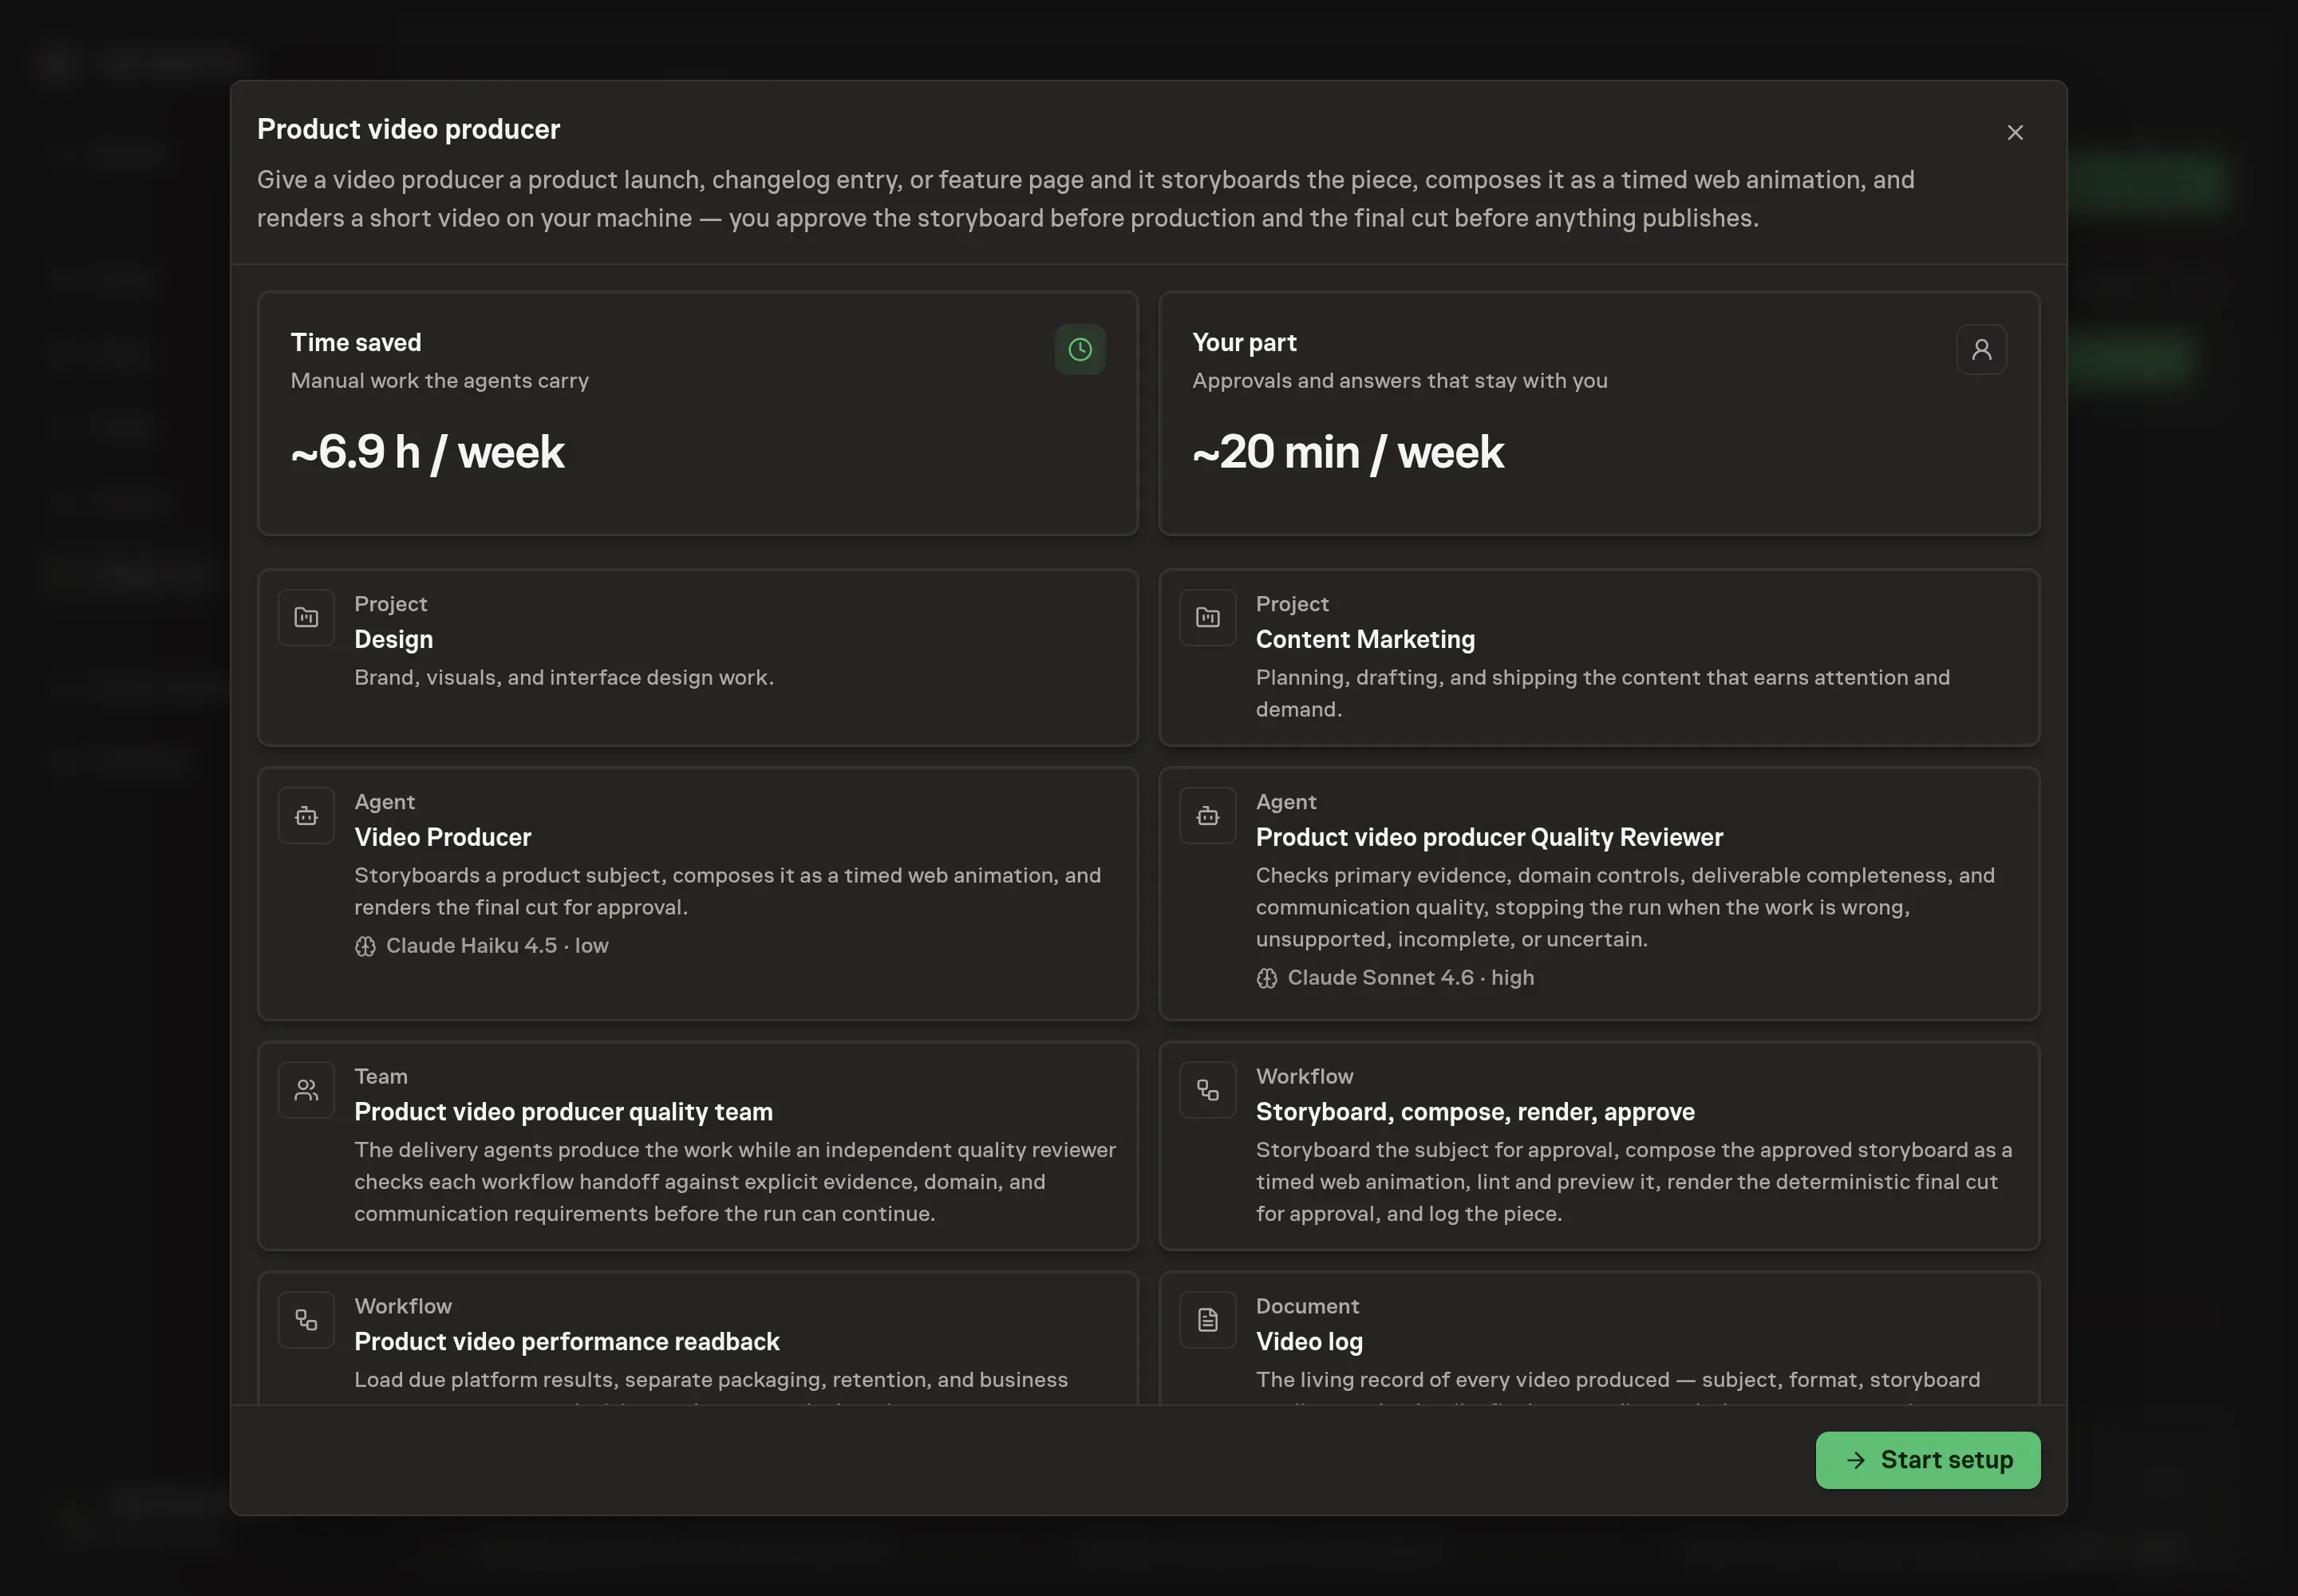
3. Agree the working brief
Use Chat to agree the inputs, expected output and limits before asking for a proposal. Discuss the subject sources, brand voice, colors, aspect ratios, and target length. Use real launch pages or changelog entries so the storyboard starts from shipped material.
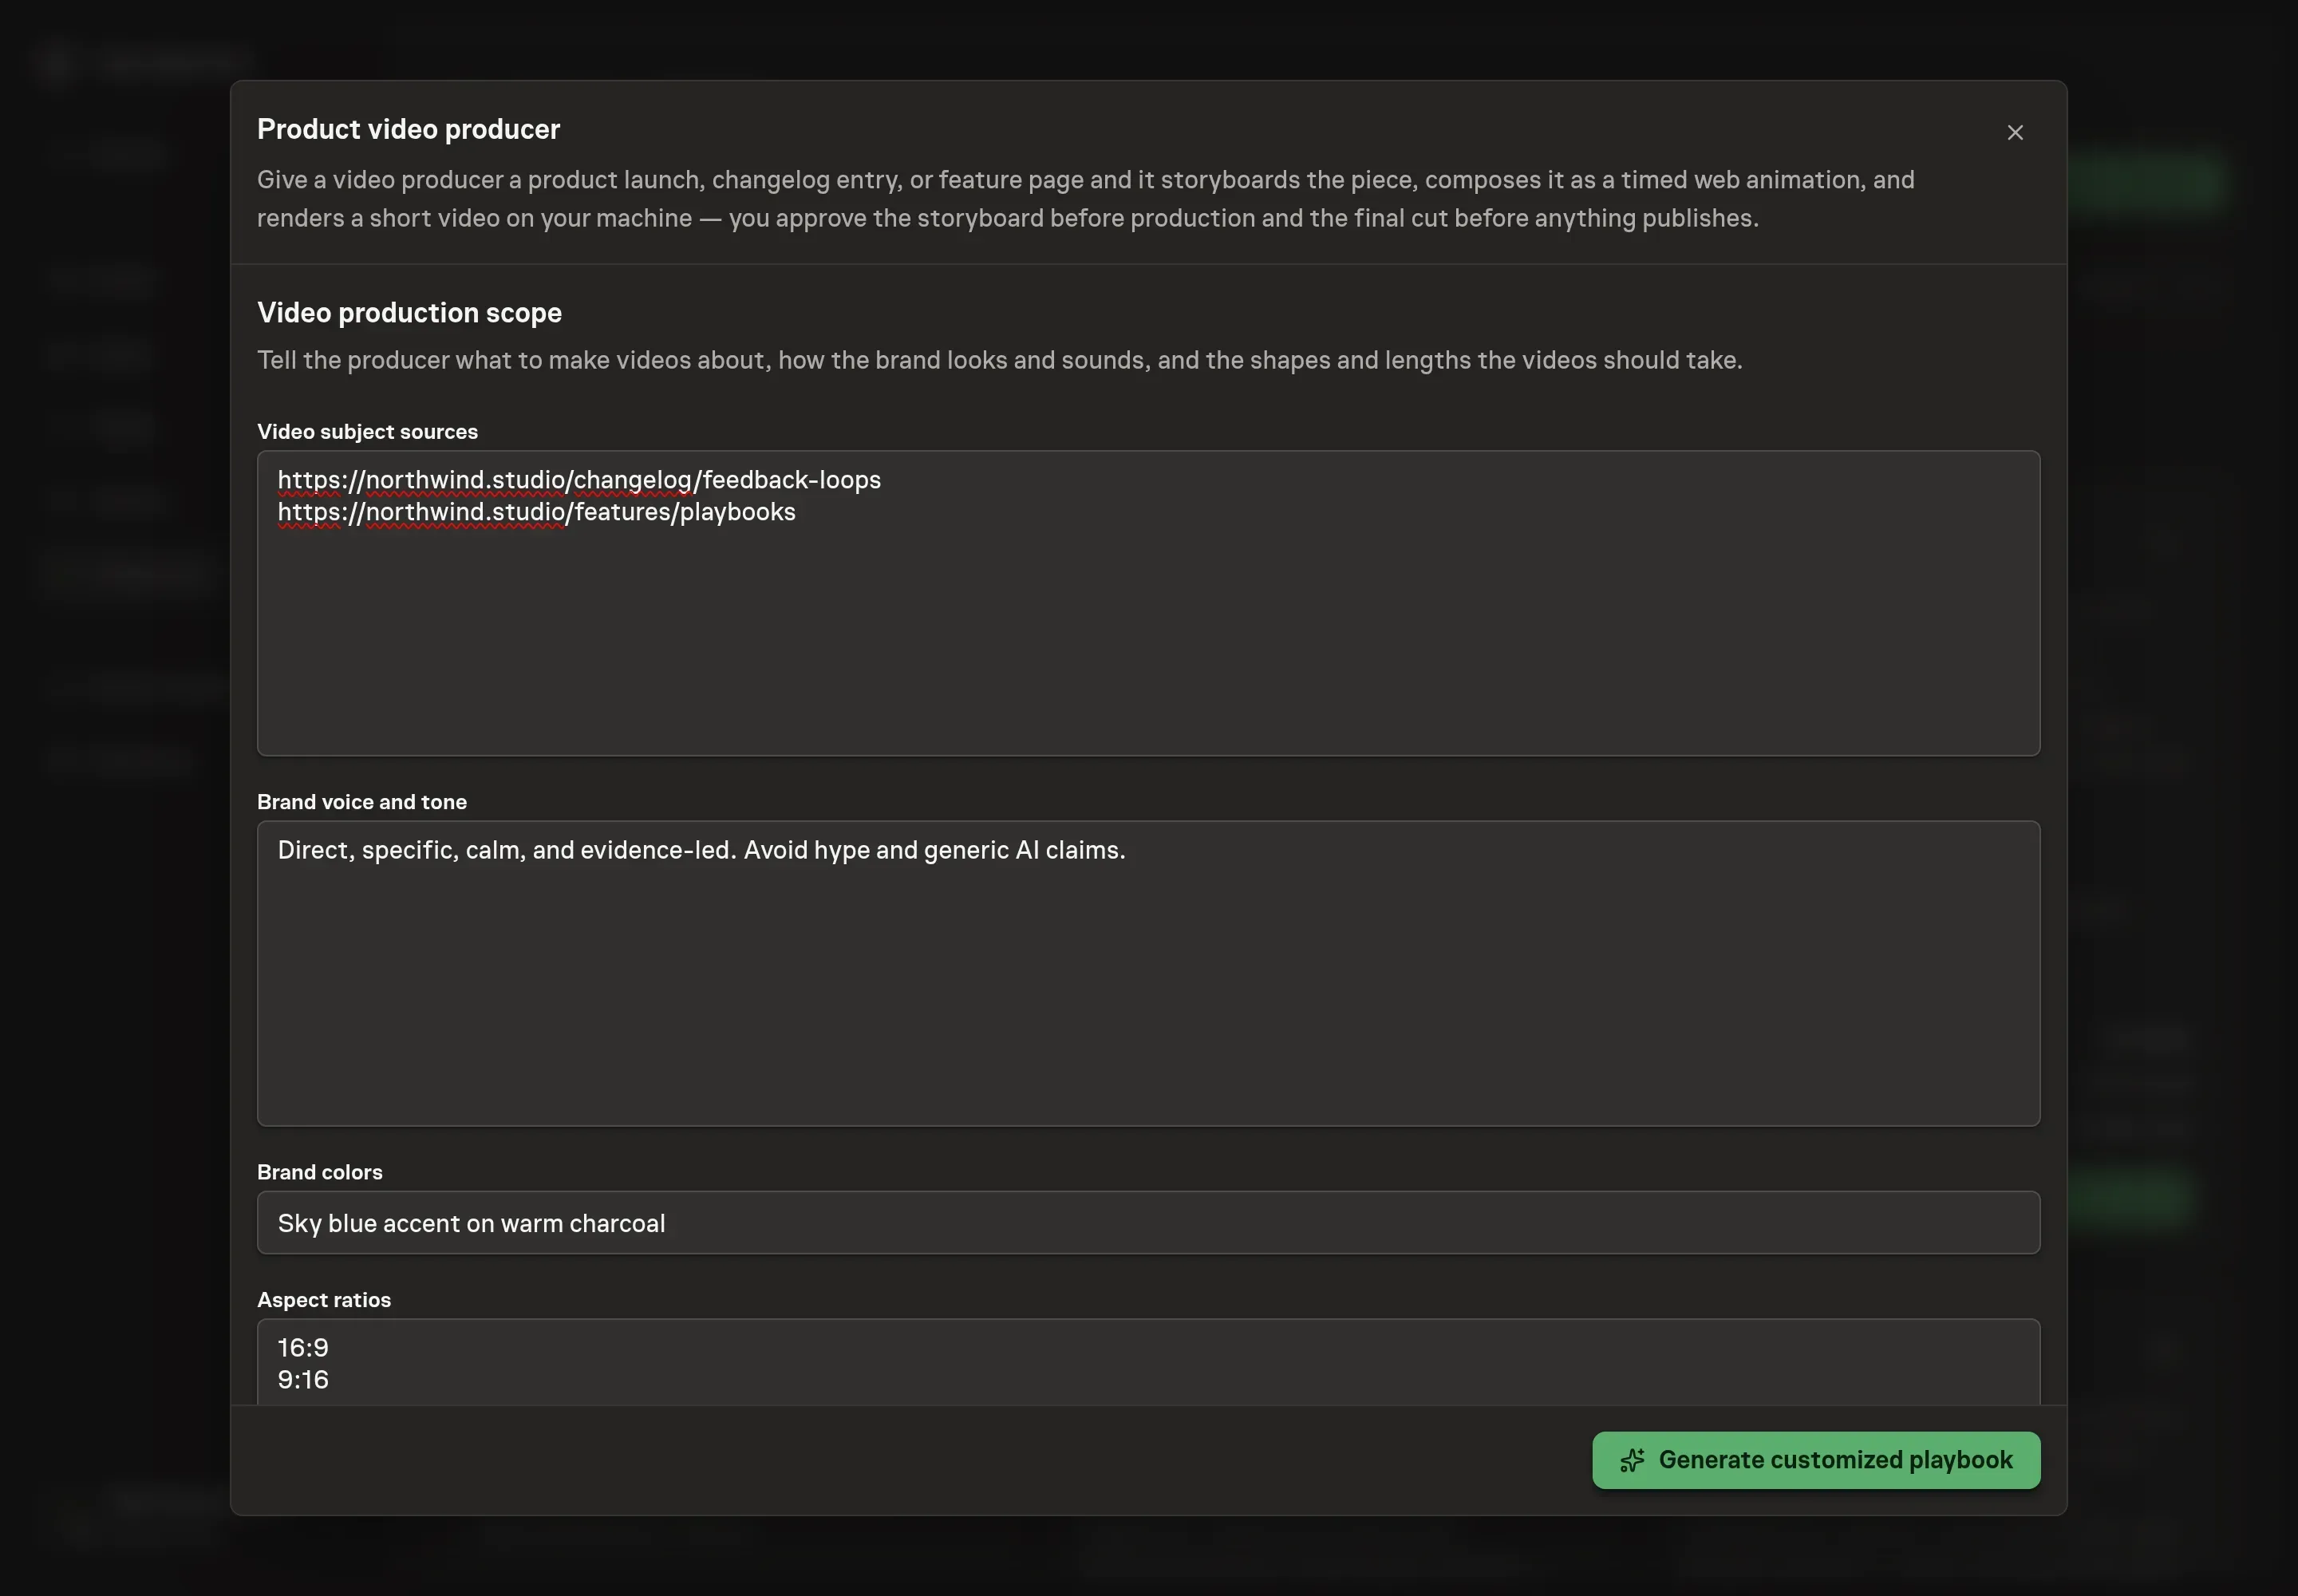
4. Review the proposed Playbook
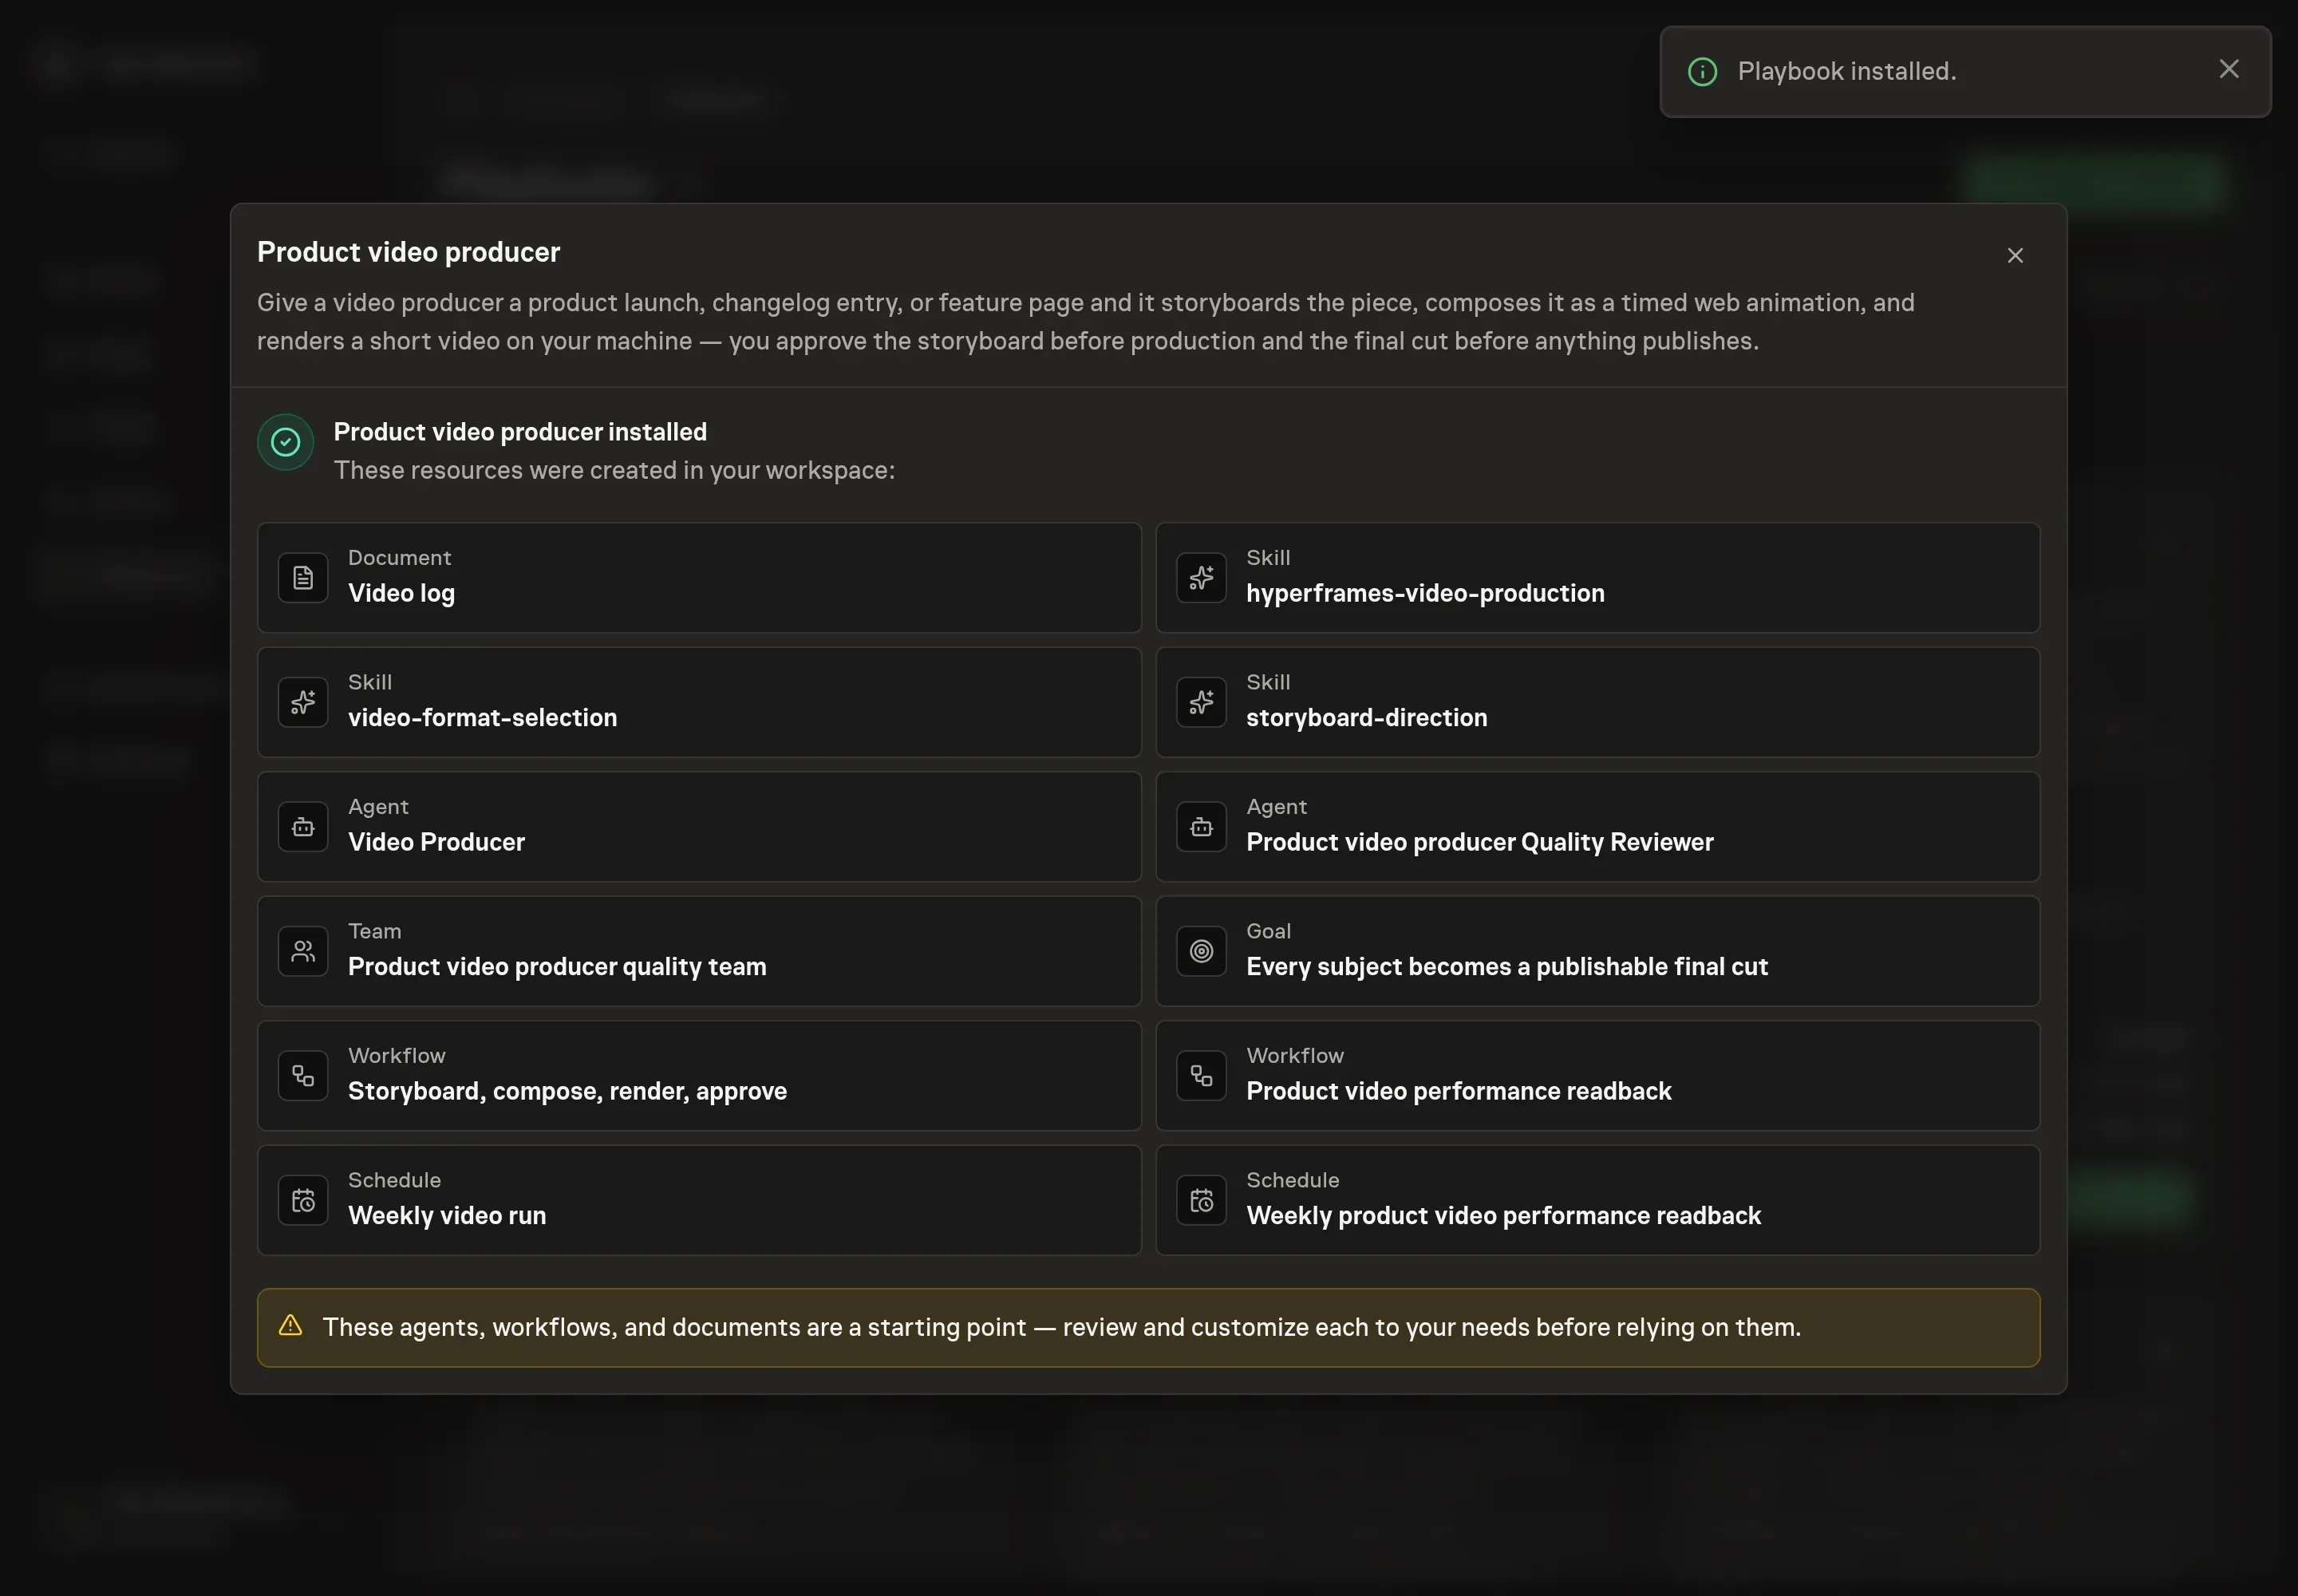
Ask the Agent to generate the Playbook from the agreed brief. Open its proposal in Chat and check the instructions and resources it will install, which carry more detail than the conversational summary. Review the agents, both workflows, video log, schedules, and skills. Confirm the packaging fields, fixed performance plan, and storyboard, final-cut, and readback approval gates. Ask for a revised proposal if anything is missing or changes the job.
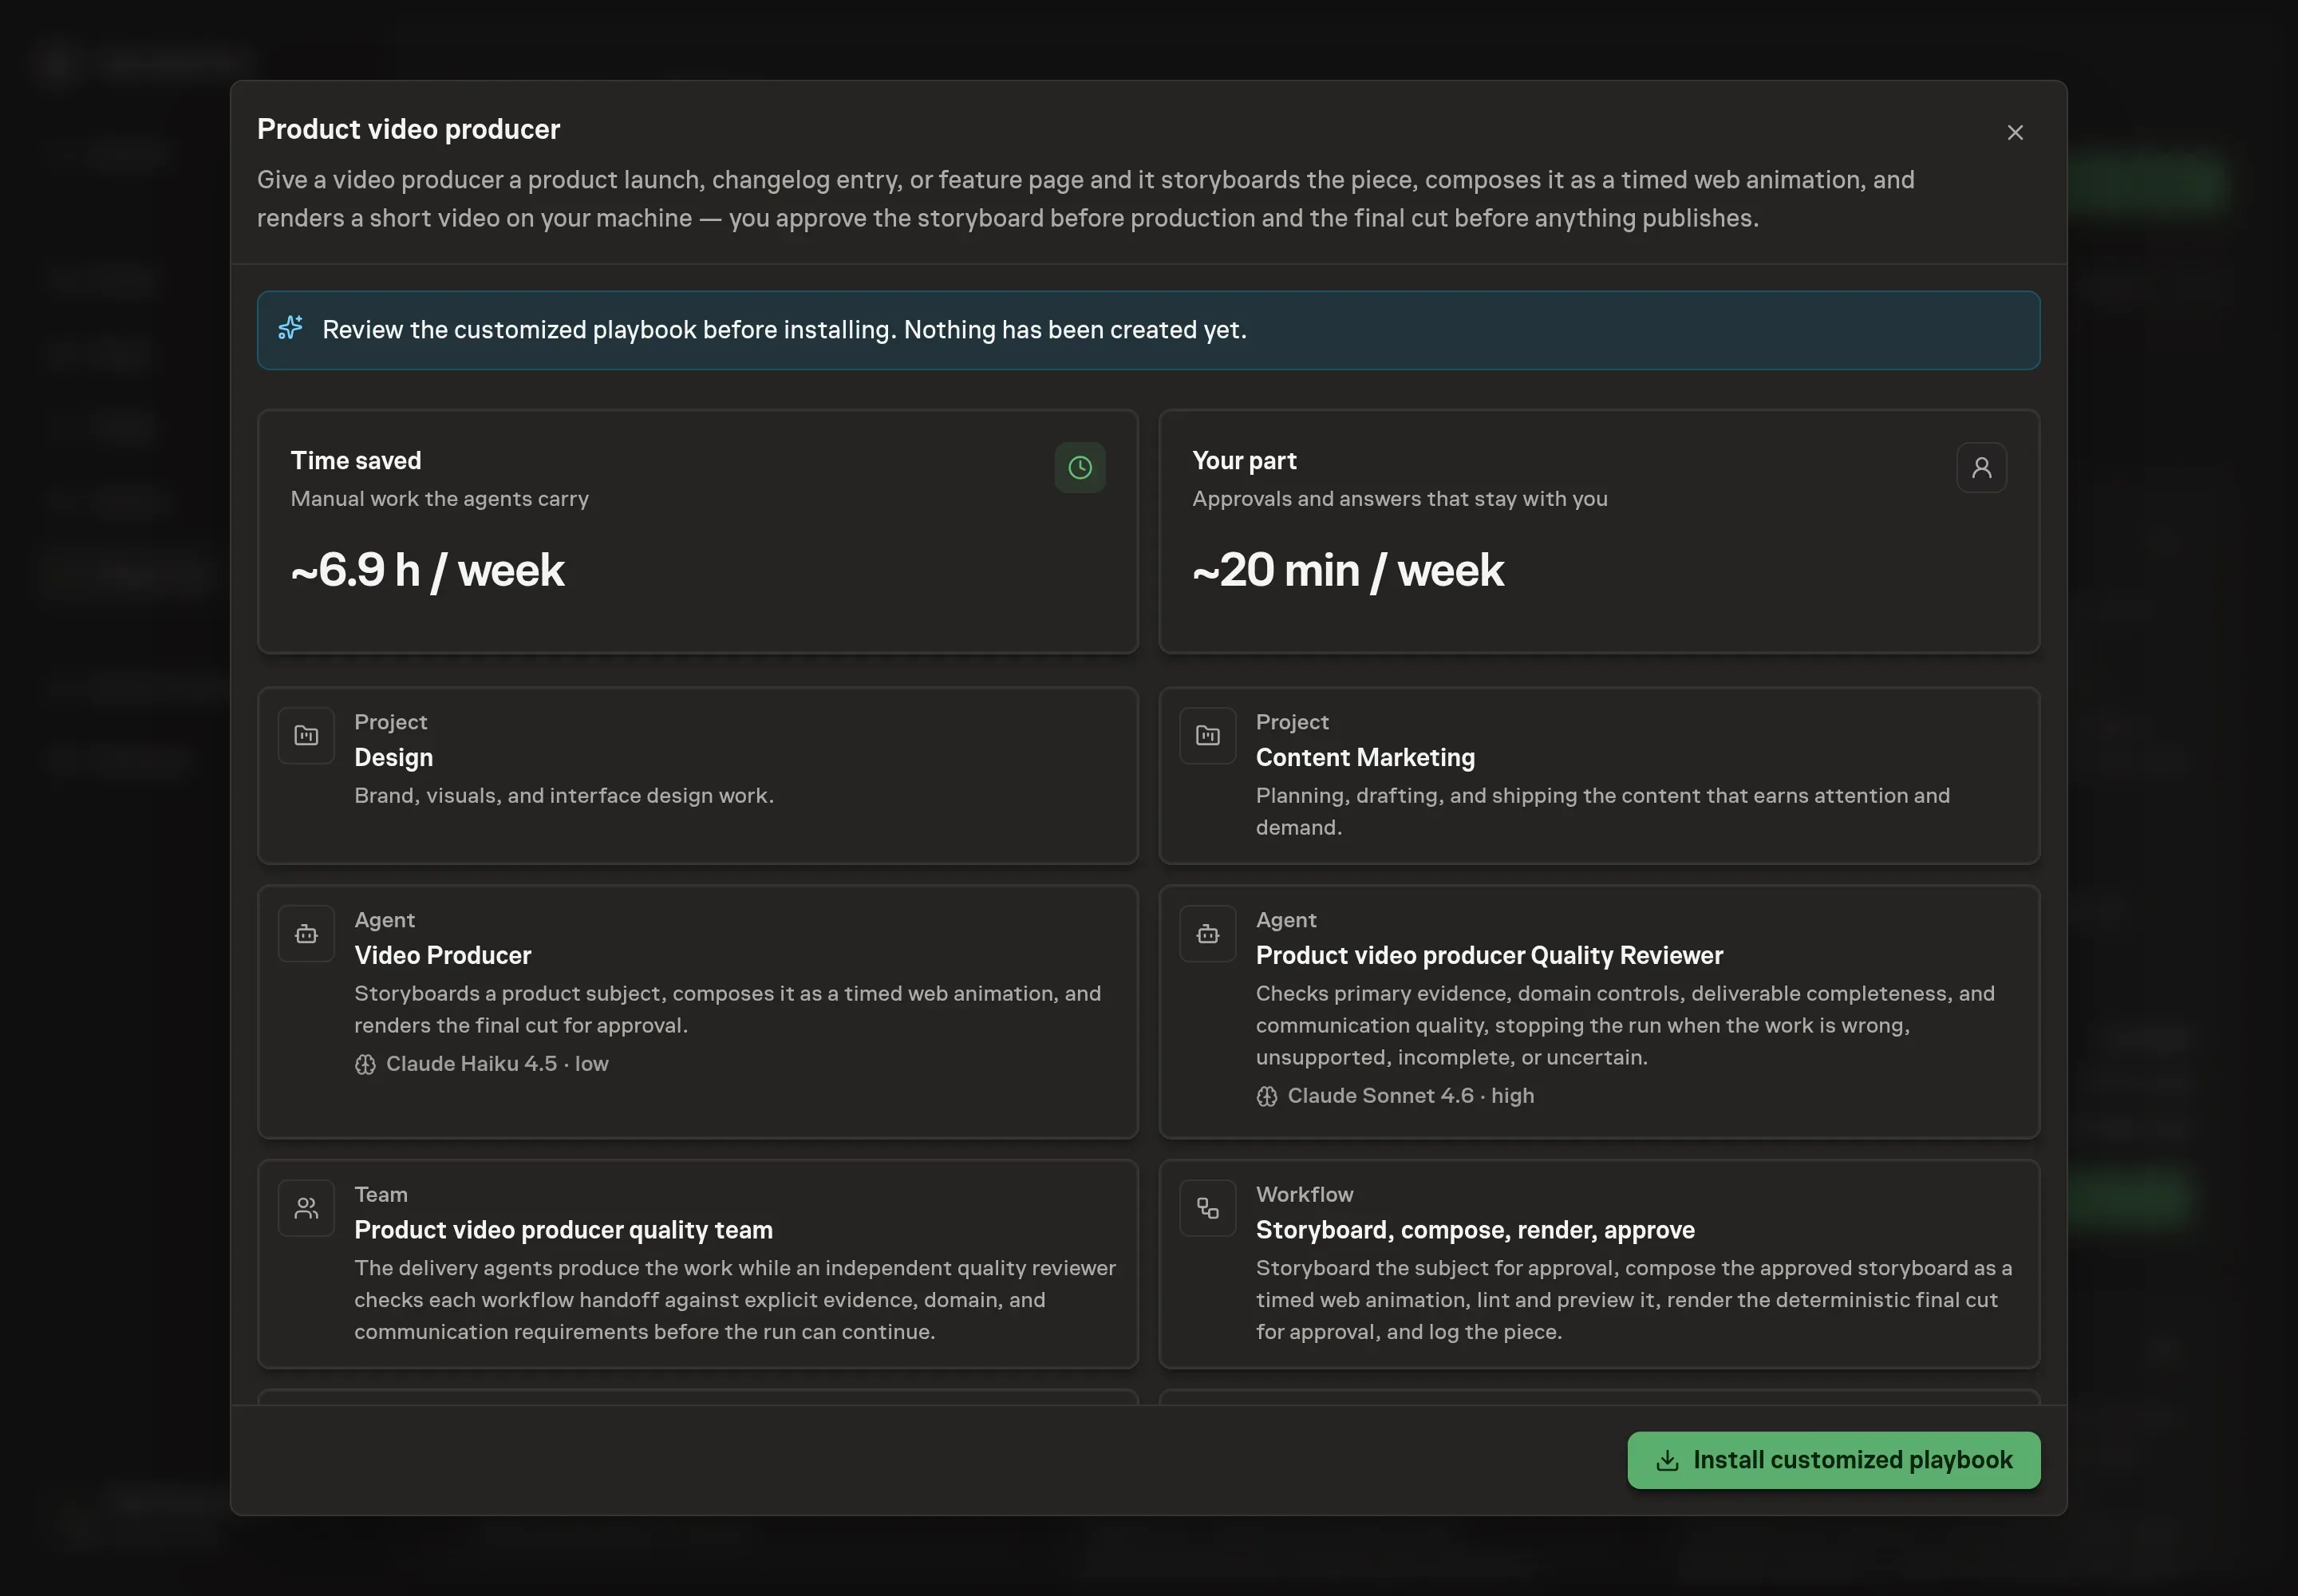
5. Approve and prepare the first work
Choose Approve on the proposal in Chat when the configuration matches your brief. Task Machine installs that reviewed configuration. The approved item retains its review details. If your autonomy settings allow direct installation, this approval may not be required. Check the resulting configuration in that case too.
Complete any remaining secure service setup from the installation details in Chat. Inbox keeps those setup items available if you return later. Prepare the source documents and inputs before starting the first Task or Workflow. Installation does not authorize sending, publishing or changing an external service beyond the boundaries you agreed. Confirm each schedule's cadence and timezone, and resolve any pending schedule setup before it starts. A readback must wait for its agreed observation window and source data. Check the reviewed tracker or results document before the first cycle so evidence and human decisions have a durable home.
What good looks like
- The storyboard is approved first. Production starts only after the story, scenes, and assets are right.
- Renders are reproducible. The log records the composition file and render command.
- Every missing asset is visible. Placeholders are flagged before final-cut review.
- Measures stay distinct. Choose one platform-supported retention outcome before publication. Treat impressions and title or thumbnail click-through as packaging diagnostics. Keep CTA clicks, signups, conversations, and revenue as business signals, with hides, corrections, negative feedback, audience mismatch, and claim violations as guardrails.
How the loop learns
The approved final-cut entry records the owner, source, platform, audience job, format, title, thumbnail, first frame, hook, CTA, storyboard and render details, final-cut verdict, structured owner feedback, comparable baseline when one exists, fixed window, one retention outcome, business signals, guardrails, sources, and readback date. Seven complete days is the default window.
At readback, the agent checks distribution, amplification, audience mix, channel growth, timing, trend half-life, post-approval production or packaging changes, tracking gaps, and low views. A human chooses reuse, keep testing, retire, or unproven and approves the exact narrow learning. Negative and inconclusive videos remain in the log, and no decision publishes, edits, removes, or reproduces a video.
Common questions
Does this replace a video editor? No. It handles repeatable product-video production. A person still approves story, brand fit, and final cut.
Can it create vertical and horizontal versions? Yes. Add the aspect ratios in setup and the producer plans each format.
What happens if assets are missing? The agent can storyboard with placeholders, but it flags every missing asset before final approval.
Does it publish automatically? No. Publication waits for final-cut approval.